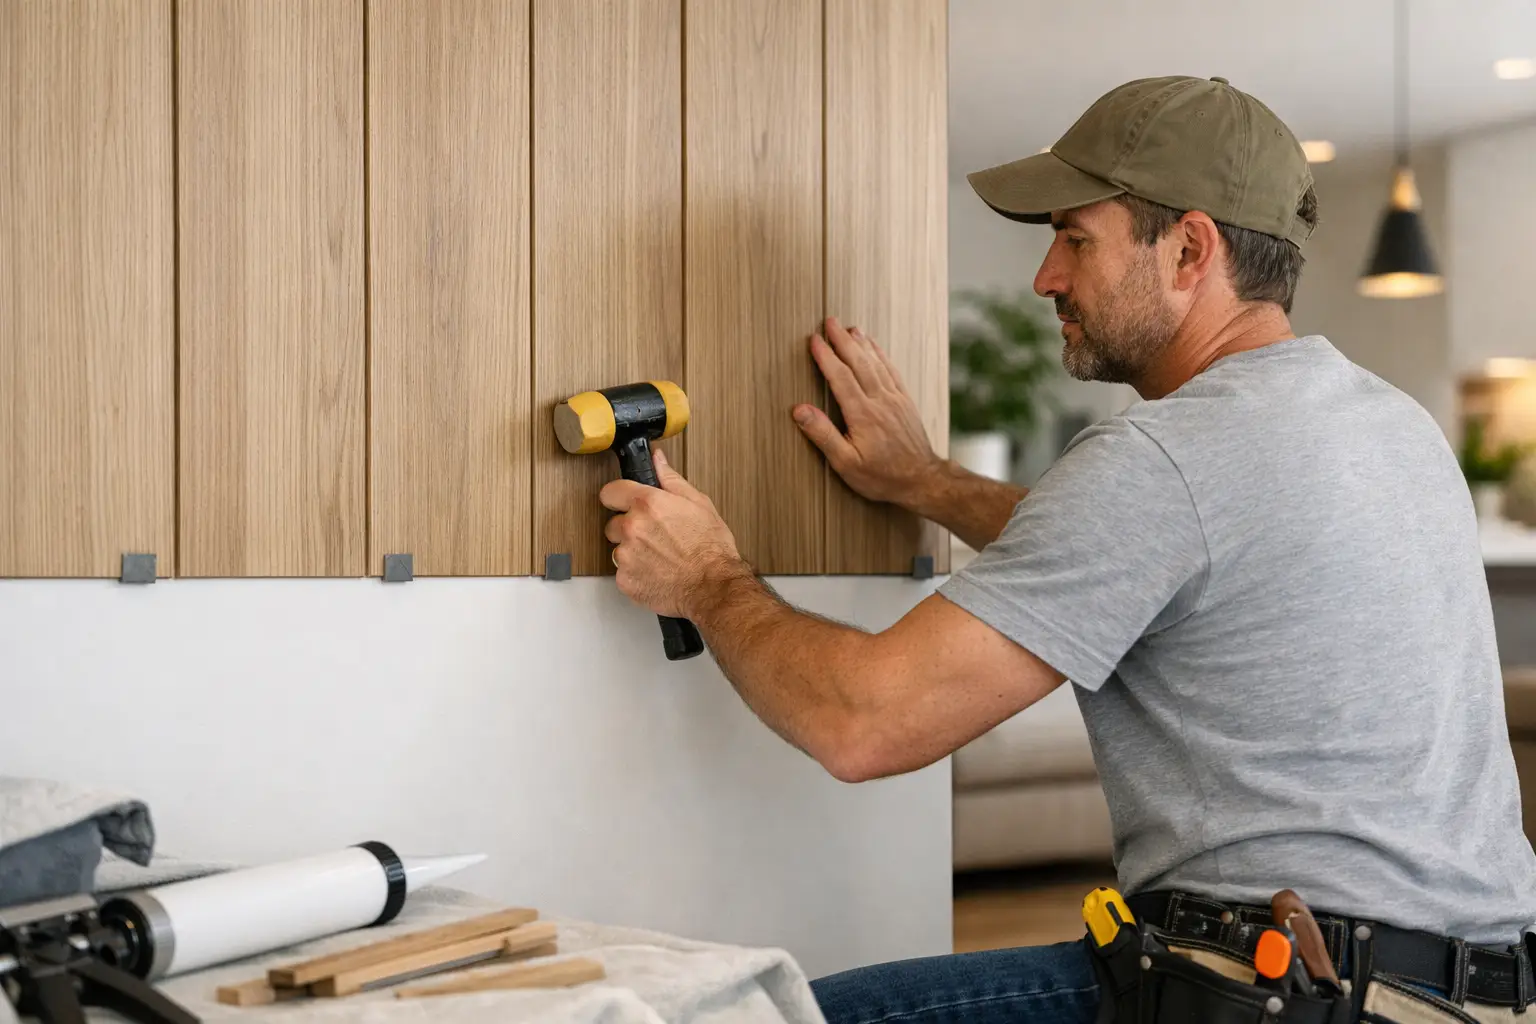
A wall panel job can look high-end or visibly improvised based on details most people never notice at first: a bowed starting line, an outlet cut that is a little too large, or adhesive applied to a dusty wall. These wall panel installation tips focus on the planning and preparation that create straight lines, tight seams, and a finish built to last.
Wall panels are a practical way to add warmth, texture, sound control, or moisture resistance to a room without a full rebuild. But not every panel belongs on every wall. The right installation method depends on the panel material, wall condition, room humidity, and what is hiding behind the drywall.
Start With the Right Panel for the Room
Before measuring or buying adhesive, confirm that the panel is suitable for its location. MDF and many decorative wood-fiber panels work well in dry living rooms, bedrooms, hallways, and offices. They can provide a crisp painted finish, but they should not be installed where repeated moisture exposure is likely.
PVC and other waterproof panel systems are often a better match for bathrooms, laundry rooms, and utility areas. Natural wood panels add character, but wood expands and contracts as humidity changes. In Bay Area homes, that movement can still matter, especially near exterior walls, kitchens, or rooms with limited ventilation.
Acoustic slat panels deserve their own planning. Their backing, spacing, and mounting method affect both appearance and performance. If sound reduction is the goal, do not assume a decorative slat panel alone will solve noise transmission from a neighboring room or busy street. It can reduce echo within a space, while more significant soundproofing may require work inside the wall assembly.
Inspect and Prepare the Wall First
Panels do not correct a bad wall. They generally follow the surface behind them, which means a dip, hump, or loose drywall section can telegraph through the finished installation.
Check the wall with a long level or straightedge. Small imperfections may be manageable, but loose drywall, water damage, mold, major cracks, or soft framing need to be addressed before panels go up. This is also the time to identify active leaks. Covering damaged material may make the room look better briefly, but it traps the real problem behind a finished surface.
Remove outlet and switch cover plates, wall-mounted hardware, and anything else that will interfere with the panel layout. Clean off dust, grease, and flaky paint. Adhesive bonds are only as reliable as the surface they contact. If the wall has glossy paint, a light scuff sanding can improve adhesion, provided the panel manufacturer allows it.
For a dependable starting point, complete these checks before installation:
- Verify the wall is dry, sound, and reasonably flat.
- Locate studs and mark their positions lightly.
- Confirm the location of electrical boxes, plumbing, and HVAC components.
- Measure the room at several points, not just along one wall.
- Let wood-based panels acclimate indoors according to the manufacturer’s instructions.
That last step is easy to skip and costly to ignore. Panels brought directly from a cold garage or delivery truck into a heated room can shift after installation, leaving open seams or pressure at the edges.
Plan the Layout Before the First Cut
The best wall panel installation tips begin with layout, not fastening. Dry-fit panels on the floor or hold them in position against the wall before committing to adhesive, nails, or screws. This shows where seams will land and whether the first or last piece will be an awkwardly narrow strip.
Find the visual center of the wall, especially behind a bed, sofa, dining table, fireplace surround, or reception desk. A centered layout often looks intentional, even when side cuts are necessary. For narrow vertical panels or slats, begin from a true plumb line rather than relying on a corner. Older homes frequently have corners that are not square or walls that are not perfectly vertical.
Horizontal panels require the same discipline. Use a level line for the first course. If the first row rises even slightly, each row above it will amplify the error. In rooms with a noticeably uneven floor or ceiling, it may be better to conceal the variation with baseboard, crown molding, or edge trim rather than force every panel to follow a crooked surface.
Think through transitions as well. Decide how panels will terminate at doors, windows, inside corners, outside corners, and ceilings. A clean edge trim may be the right choice for one system, while another panel type is designed for a caulked joint. Mixing methods without a plan usually produces gaps that collect dust or crack over time.
Choose Adhesive, Fasteners, or Both
The mounting method should match the panel weight and wall material. Lightweight decorative panels may be approved for construction adhesive alone on a properly prepared drywall surface. Heavier wood panels, slat systems, and panels installed over furring strips often need mechanical fastening into studs or blocking.
Adhesive is not a substitute for secure framing. If a panel is heavy, if the wall is uneven, or if the product instructions call for screws or nails, follow that requirement. Using the wrong adhesive can stain the panel face, prevent proper curing, or fail in humid conditions.
When fastening into studs, use a stud finder and verify locations with care. Electrical wiring and plumbing can run through wall cavities. Avoid blindly driving long fasteners into a wall, particularly around kitchens, bathrooms, and laundry areas. For areas where mounting points are uncertain, a professional can assess the wall and recommend a safer fastening approach.
Apply adhesive in the bead pattern specified for the product instead of coating the entire panel randomly. Too little adhesive can leave hollow areas. Too much can squeeze through seams, prevent the panel from sitting flat, or create a mess that is difficult to remove without damaging the finish.
Make Outlet and Switch Cuts With Care
Electrical openings are where an otherwise strong installation can lose its clean look. Measure from fixed reference points, then transfer the dimensions to the back of the panel. Check the measurement twice before cutting. A small test fit is far easier than repairing a panel with an oversized hole.
Turn off power at the breaker before removing devices or working near exposed boxes. The finished panel surface may require an electrical box extender so the box sits flush with the new wall finish. This is not merely cosmetic. Electrical boxes and device mounting need to be properly supported and finished for safety.
Do not bury junction boxes behind panels. They must remain accessible. If the panel changes the depth around an outlet or switch, make sure the cover plate fits cleanly and the device is not recessed too far behind the finished surface.
Leave Room for Movement and Finishing
Wood and MDF-based products can move with seasonal changes. Follow the manufacturer’s recommended expansion gap at floors, ceilings, and adjoining walls. Trim often covers these gaps, so allowing for movement does not mean accepting a visibly unfinished edge.
Use color-matched caulk only where the system calls for it. Caulk is useful for small finish joints and transitions, but it should not be used to hide large layout mistakes. On painted paneling, fill nail holes with a compatible filler, sand carefully, prime as needed, and apply paint in thin, even coats. Rushing this stage can leave flashing, raised filler spots, or paint buildup in panel grooves.
For paneling in bathrooms or other damp spaces, pay close attention to seams, edges, and penetrations. Water often finds the smallest unsealed opening. The panel may be water-resistant, but the wall behind it may not be.
Know When the Wall Needs Professional Attention
A straightforward accent wall can be a manageable project for an experienced homeowner. The job becomes more complicated when walls are out of plumb, panels need extensive outlet modifications, moisture damage is present, or the design includes built-ins, TV mounting, lighting, or structural changes.
Professional installation is particularly worthwhile for tall feature walls, heavy materials, commercial spaces, and detailed trim work where every seam is visible. A licensed, experienced team can also coordinate related drywall repair, electrical adjustments, painting, and finish carpentry rather than leaving you to schedule several trades.
For homeowners and property managers who want the work handled cleanly from preparation through final trim, Fullhouse Remodeling & Handyman Services can assess the wall condition and installation requirements before work begins. The right panel is only half the decision. Careful layout, sound mounting, and properly finished details are what make it feel like part of the building, not an addition to it.
