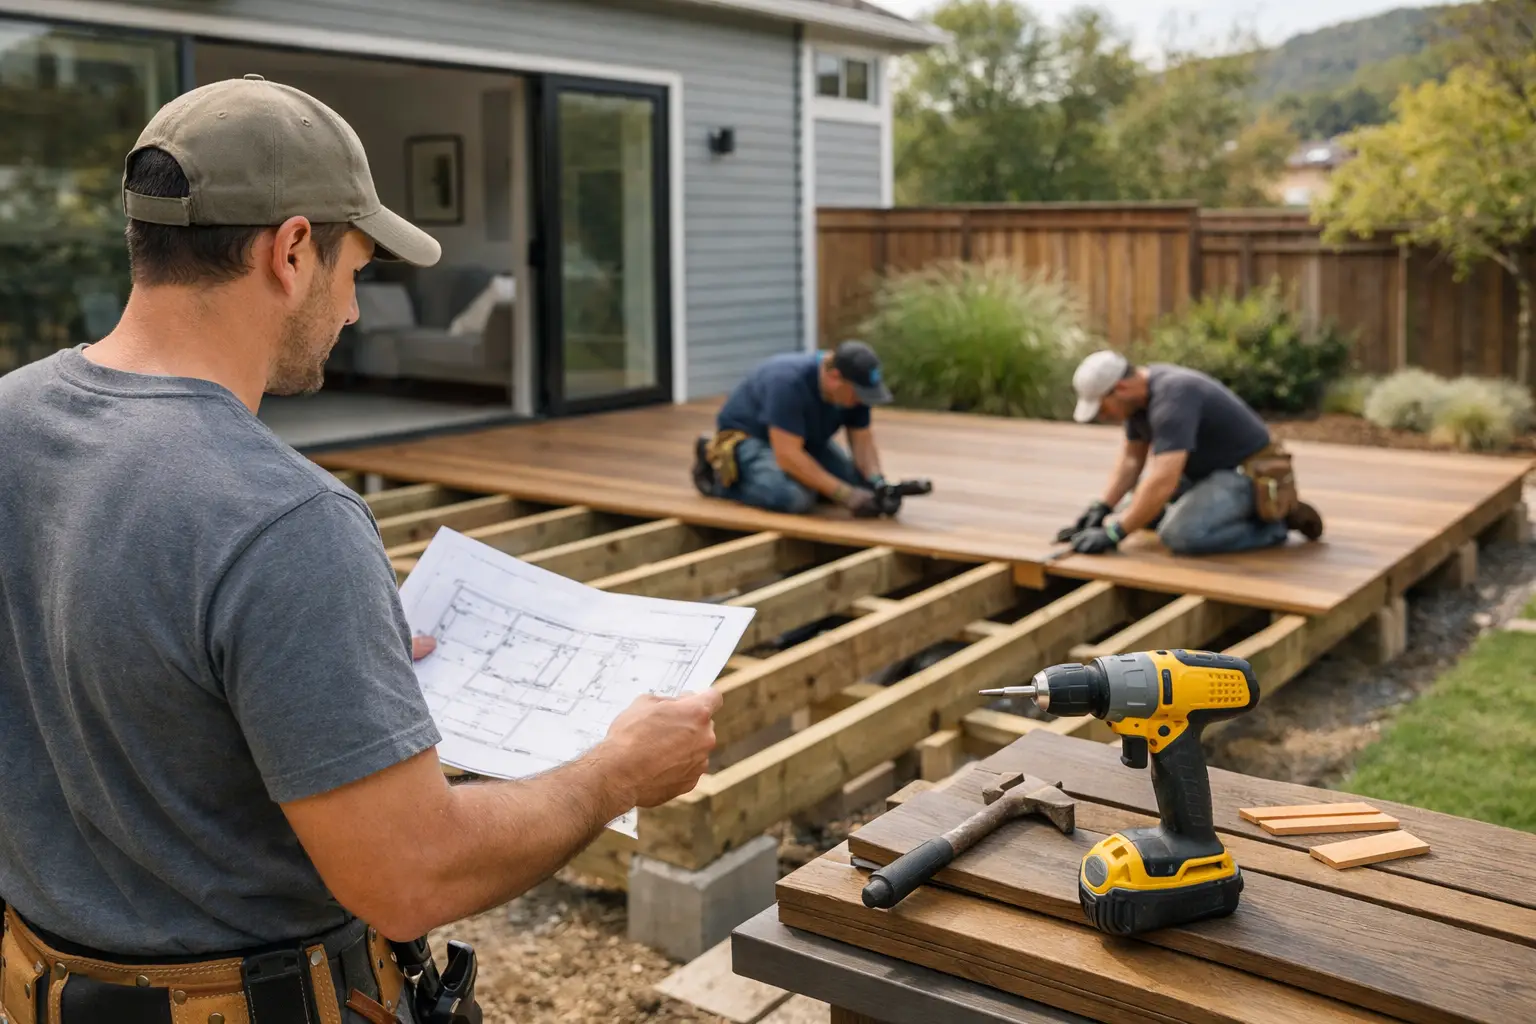
A deck that feels like a natural extension of your home starts long before the first board is installed. Knowing how to plan deck installation helps you avoid the problems that cause the biggest delays: undersized footings, permit issues, drainage mistakes, material choices that do not fit your maintenance expectations, and a layout that looks good on paper but does not work for daily life.
For Bay Area homeowners, deck planning also means accounting for sloped lots, changing microclimates, coastal moisture, dry rot risk, and local building requirements. A clear plan gives you a safer structure, a more useful outdoor area, and fewer surprises once construction begins.
Start With How You Will Use the Deck
The best deck size is not always the largest one that fits in the yard. Start with the activities you want the space to support. A small landing outside a back door has very different requirements than a deck designed for outdoor dining, weekend gatherings, or a grilling area.
Think about furniture before choosing dimensions. Allow room for chairs to pull out, walking paths around a table, and doors that need to swing open. If you expect to use a grill, keep it in a location with proper clearance from siding, railings, and overhead elements. Built-in benches, planters, stairs, and privacy screens can make a compact deck work harder, but each feature affects the structural plan and final cost.
Also consider sun, wind, and privacy. A south-facing deck may be pleasant during cooler months but uncomfortably hot in summer without shade. In denser neighborhoods, the angle of railings or a privacy screen can make the difference between a deck that gets used and one that is avoided.
Assess the Site Before Designing Anything
A deck must work with the property, not fight it. Walk the area at different times of day and look for standing water, drainage paths, low spots, exposed roots, uneven grade, and signs of soil movement. Water management deserves early attention because moisture trapped against framing or directed toward the house can lead to rot, foundation concerns, and costly repairs.
Pay close attention to the connection point at the home. If the deck will attach to the house with a ledger board, the wall framing, flashing, and siding condition all matter. Existing dry rot, damaged siding, or improper flashing should be repaired before a new deck is attached. Covering an existing problem with new construction only makes future repairs more difficult.
For elevated decks or lots with a meaningful slope, determine how the structure will be supported. Footing depth, post locations, beams, bracing, and access for construction equipment all affect the design. A freestanding deck may be a better option in some situations, particularly where attaching to the home would create flashing complications or structural limitations.
Before digging, make sure underground utilities are identified. Irrigation lines, gas lines, electrical service, and drainage pipes may cross areas where footings or new stairs are planned. This is not a detail to leave until installation day.
Check Permits, Property Rules, and Structural Requirements
One of the most practical answers to how to plan deck installation is simple: check the rules early. A deck may require permits based on its height, size, location, attachment to the home, and structural design. Requirements vary by city and county, and a project near property lines, on a hillside, or in a designated planning area may receive added review.
Permits are not just paperwork. They help confirm that footings, connections, guardrails, stairs, and load-bearing components are designed for safe use. Skipping this stage can create issues during a sale, insurance review, property inspection, or future remodel.
If your property has a homeowners association, review its architectural rules before ordering materials. Associations may regulate deck placement, railing style, visible colors, and privacy features. For rental properties and commercial spaces, clarify who is responsible for approvals and tenant access before work is scheduled.
A licensed contractor can evaluate the project scope, coordinate required plans when needed, and build to applicable code requirements. This is especially valuable for multi-level decks, elevated structures, deck replacements with hidden rot, and projects that require changes to stairs or exterior doors.
Choose Materials Based on Maintenance and Exposure
Deck material should match the way you want to maintain the space. Pressure-treated lumber is commonly used for framing and can be used for decking, while natural wood provides a traditional appearance but generally needs regular sealing, staining, and inspection. Composite decking can reduce routine maintenance and offers consistent color options, but it typically has a higher initial material cost and still needs proper spacing, support, and ventilation.
Do not choose decking boards in isolation. The railing system, fasteners, fascia, trim, stairs, lighting, and under-deck drainage can change both the appearance and long-term performance of the project. In foggy, coastal, or heavily shaded areas, moisture exposure may make ventilation and corrosion-resistant hardware particularly important.
Color is another practical decision. Dark boards can become hot under direct sun, while very light finishes may show dirt more quickly. Bring home samples if possible and view them next to the house in morning and afternoon light. The color that looks right indoors or online can read very differently outside.
Build a Realistic Budget and Scope
A reliable deck budget includes more than the visible boards and railings. Structural framing, excavation, footings, demolition of an existing deck, disposal, flashing repairs, permits, stairs, and site access can all affect the final scope. If an old deck is being replaced, plan for the possibility that removing it reveals rot at the house wall or deteriorated framing beneath the surface.
It helps to separate must-haves from upgrades. A code-compliant structure, safe stairs, durable framing, and proper drainage belong in the must-have category. Decorative lighting, custom skirting, built-in seating, and premium railing details can be added when they fit the budget.
Ask for a clear written scope that identifies the material type, railing style, stair work, disposal, permit responsibility, and any repairs included or excluded. Transparent scope details reduce misunderstandings and make it easier to compare proposals fairly. The lowest number is not always the better value if it leaves out structural repairs, finishing work, or permit coordination.
Plan the Details That Make a Deck Comfortable
Small design decisions have a major impact after the project is complete. Stair location affects traffic flow through the yard. Railing height and style affect views. A gate may be necessary for young children or pets. If the deck sits above a lower patio or storage area, an under-deck drainage system may be worth considering to create a drier usable space below.
Lighting is easier and cleaner to plan before construction than after. Consider step lights, post-cap lights, wall lighting near doors, and a nearby weather-rated outlet for outdoor use. Electrical work should be completed safely and in accordance with applicable requirements rather than handled as an afterthought.
Think ahead about maintenance access as well. You may need to reach exterior vents, hose connections, crawlspace entries, or portions of siding after the deck is built. A well-planned deck leaves access where it is needed instead of turning routine home maintenance into a demolition project.
Hire for Planning, Not Just Installation
Decks carry people, furniture, weather exposure, and sometimes significant elevation. That makes workmanship below the deck just as important as the finished surface above it. Look for a contractor who discusses the site conditions, drainage, fastening methods, permit needs, material options, and potential repair issues before presenting a final plan.
Be cautious of anyone who provides a firm answer without inspecting the connection to the house, measuring elevations, or asking how you intend to use the deck. Clear communication, a documented scope, and a realistic schedule are signs of a professional approach.
For homeowners who want one team to assess repairs, manage structural work, and complete the installation, Fullhouse Remodeling & Handyman Services can help evaluate the project and provide a straightforward quote. The right time to start is before materials are ordered: walk the site, define the purpose, and make sure the structure behind your new outdoor space is built to last.
