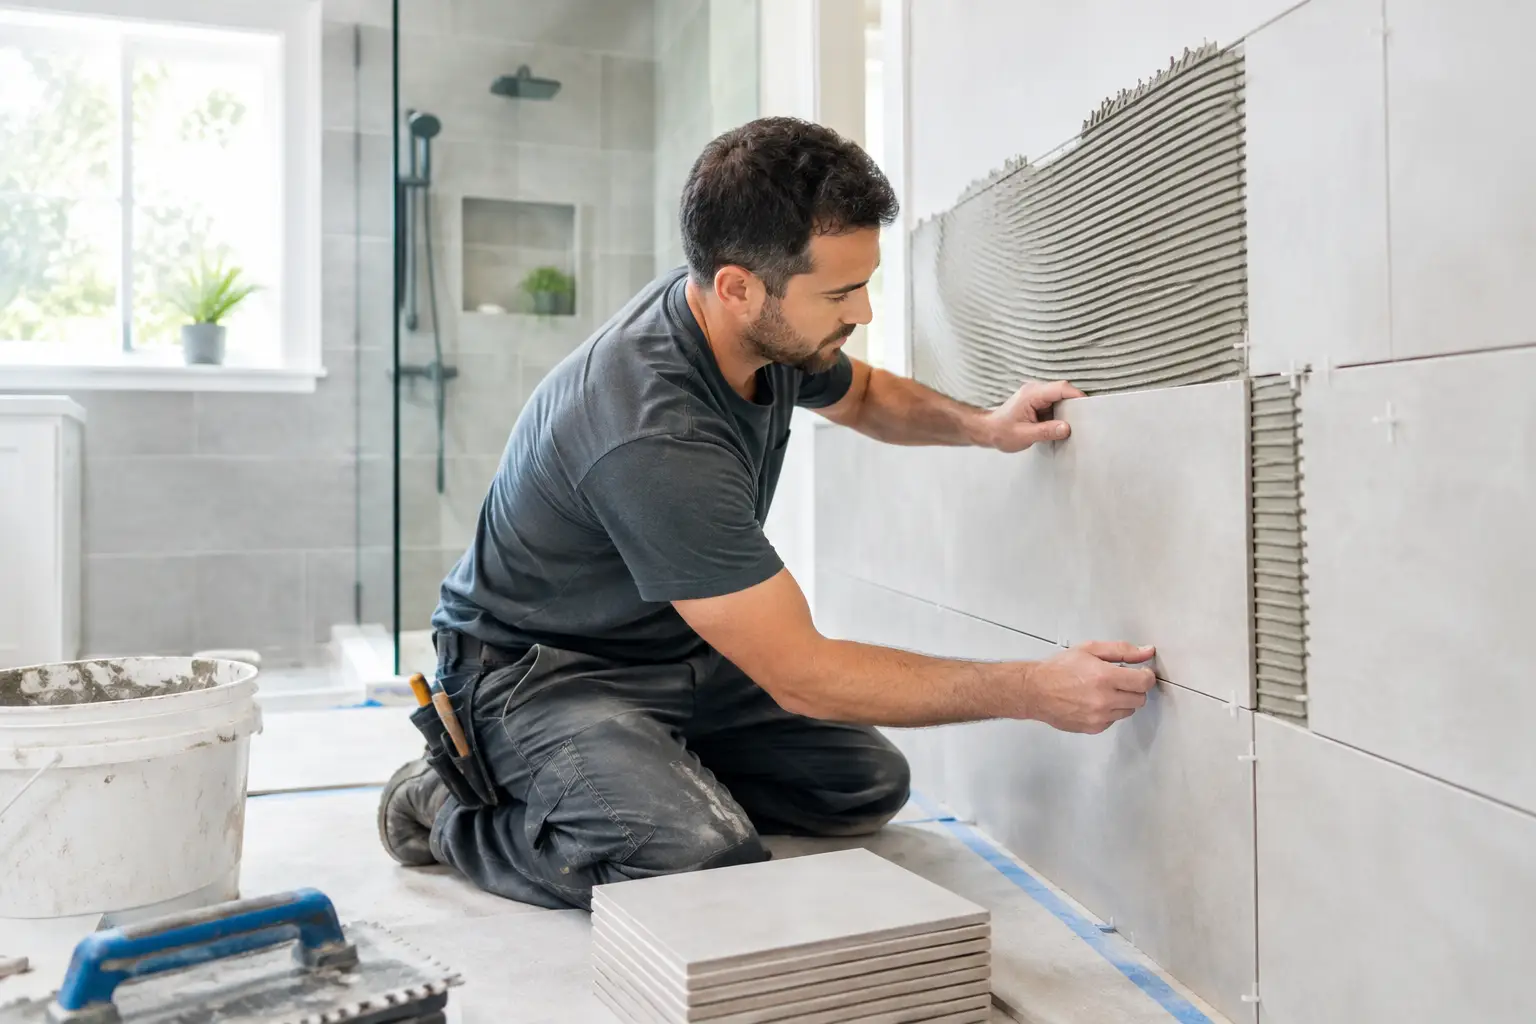
A bathroom can look finished the moment new tile goes in, but the work that determines whether it lasts happens underneath it. This bathroom tile installation guide explains what homeowners should expect from a properly planned tile floor, shower wall, or tub surround – and where cutting corners can lead to cracked grout, loose tile, or water damage behind the wall.
Tile installation is not one-size-fits-all. A small powder room floor has different demands than a walk-in shower, and an older Bay Area home may require more subfloor or wall preparation than a newer property. The right materials, layout, and waterproofing method depend on the surface, tile type, and amount of daily moisture the area will handle.
Start With the Surface, Not the Tile
The condition of the floor or wall is the first job. Tile is rigid, so it needs a stable, flat base. Installing over movement, rot, loose plywood, damaged drywall, or an uneven slab can cause problems even when the tile itself is high quality.
For bathroom floors, the subfloor must be solid and properly supported. Deflection, which is the slight flexing that occurs when people walk across a floor, can crack tile and grout over time. A contractor may need to reinforce the framing, replace damaged wood, or install an appropriate tile underlayment before setting any tile.
Walls need the same attention. Standard drywall is not a suitable backing for tile in a shower or other wet area. Cement board, foam backer board, or another approved tile backer system provides a more durable base. In a dry area, such as a bathroom backsplash, the preparation can be simpler, but walls still need to be clean, flat, and securely finished.
Before work begins, inspect for hidden issues. Soft flooring around a toilet, staining below a shower, musty odors, or cracked tiles may point to a plumbing leak or moisture damage. Repairing the cause first protects the new installation and prevents paying twice for the same area.
Waterproofing Is What Protects Your Bathroom
Grout and tile are not waterproof by themselves. They resist water, but moisture can still travel through grout joints, corners, and small gaps around fixtures. That is why a shower installation needs a complete waterproofing system behind the tile.
A reliable shower assembly includes a properly sloped shower pan, waterproof walls, sealed corners, and watertight connections at the drain and plumbing penetrations. The slope matters because standing water has to move toward the drain rather than collect beneath the tile. A shower pan should also be flood tested before tile is installed, giving the installer a chance to find leaks while repairs are still straightforward.
On a bathroom floor, waterproofing may be recommended even when it is not required for every square foot. It is especially helpful near showers, tubs, toilets, and laundry-style wet areas. The right approach depends on the room layout and the condition of the existing structure.
Do not rely on caulk as the only defense against moisture. Caulk is used at changes of plane, such as wall corners and the joint between a tub and tile, because those areas move slightly. It is a finishing component, not a substitute for proper waterproofing behind the finished surface.
Plan the Layout Before Mixing Thinset
A good layout makes the room feel intentional. A rushed layout can leave narrow tile strips at a doorway, uneven cuts along a focal wall, or a pattern that drifts out of square.
Installers typically begin by finding the visual center of the room or wall, then dry-lay tiles to see how cuts will land at the edges. In a bathroom floor, the view from the doorway often matters most. For a shower wall, the tile should look balanced around the valve, niche, bench, or window whenever possible.
Tile size affects both the look and the installation process. Large-format tile creates fewer grout joints and can make a small bathroom feel more open, but it requires a flatter substrate and careful leveling. Small mosaic tile is flexible for shower floors and curved surfaces, but it adds more grout lines and takes more time to set accurately.
Pattern choices also have practical consequences. Straight-set tile is generally easier to lay out than diagonal, herringbone, or offset patterns. A running-bond pattern can look great, but some long rectangular tiles have slight natural bowing. Using too much offset may create visible lippage, where one tile edge sits higher than the next. The tile manufacturer’s recommendations should guide the pattern.
Choose Materials That Match the Bathroom
Porcelain tile is a popular bathroom choice because it is dense, durable, and highly resistant to water. Ceramic tile can also work well on walls and low-traffic floors. Natural stone offers a distinctive appearance, but it generally requires more maintenance and may need sealing to protect it from staining and moisture.
For a shower floor, prioritize slip resistance over a perfectly smooth look. Smaller mosaic tiles are common because the additional grout joints improve traction and conform more easily to the slope toward the drain. A large polished tile may look attractive in a showroom but can be less forgiving in a wet shower.
The setting materials matter just as much as the tile. Thinset mortar should be selected for the tile size, material, and substrate. Grout type should match the joint width and the demands of the space. Sanded, unsanded, high-performance, and epoxy grouts each have appropriate uses. A professional installer can recommend the right system rather than using one product for every bathroom surface.
How Professional Tile Installation Comes Together
Once preparation, waterproofing, and layout are complete, the installation moves in a controlled sequence. Thinset is mixed to the proper consistency and spread in manageable sections. The installer uses the correct trowel size to achieve strong coverage behind every tile, particularly in wet areas and with large-format materials.
Tiles are set with consistent joint spacing and checked often for level, alignment, and full mortar contact. Spacers and leveling systems can help, but they do not correct an uneven floor or wall. Cuts around plumbing, outlets, niches, and corners should be clean and carefully measured.
After the mortar cures, grout is worked fully into the joints and cleaned from the tile face. Flexible sealant is then installed where surfaces meet or move independently. Finally, the room needs appropriate cure time before regular use. Rushing this stage can compromise the grout, caulk, or bonding strength.
A well-managed project also protects the rest of the home. Dust control, careful demolition, disposal of old materials, and protection for nearby floors and fixtures make a real difference, especially when the bathroom is the household’s primary space.
Common Mistakes That Shorten Tile Life
The most expensive tile problems usually start with shortcuts that are not visible after the project is complete. Watch for these common issues:
- Installing tile over a weak, uneven, or moisture-damaged surface.
- Using drywall behind shower tile instead of a proper backer and waterproofing system.
- Skipping the shower pan flood test before tiling.
- Setting tile with poor mortar coverage or the wrong thinset.
- Grouting corners instead of using flexible sealant where movement occurs.
- Using a floor tile with poor slip resistance in a shower.
Some issues show up immediately, while others take months to appear. Hollow-sounding tile, cracking grout, recurring mildew at corners, and loose tile are all signs that the installation may need attention.
When DIY Makes Sense and When to Hire a Pro
A careful homeowner may be able to handle a simple bathroom backsplash, a small dry-area accent wall, or replacement of a few damaged tiles. These projects still require patience, accurate cuts, and proper surface preparation, but the risk of hidden water damage is lower.
A shower, tub surround, full bathroom floor, or tile project involving plumbing repairs is different. These jobs require waterproofing knowledge, substrate evaluation, drainage planning, and detailed finish work. If there is evidence of dry rot, a leaking shower pan, uneven framing, or electrical and plumbing work in the same renovation, bringing in an experienced licensed contractor is the safer path.
For homeowners and property managers, professional installation also reduces coordination. Fullhouse Remodeling & Handyman Services can address tile work alongside the surrounding repairs and remodeling tasks, helping keep the project organized from demolition through final finishing.
Care After Installation
Wait for the recommended cure period before exposing new tile and grout to regular water use. After that, use a pH-neutral cleaner rather than harsh acidic products that can damage grout, natural stone, or certain finishes. Keep shower corners and grout lines clean, repair failing caulk promptly, and reseal materials when the manufacturer recommends it.
Good tile work should feel solid, drain correctly, and make everyday cleaning easier. If your bathroom has a moisture issue or aging tile beneath the surface, address it before choosing finishes. A durable installation starts with a dry, stable foundation and ends with details that hold up to daily use.
