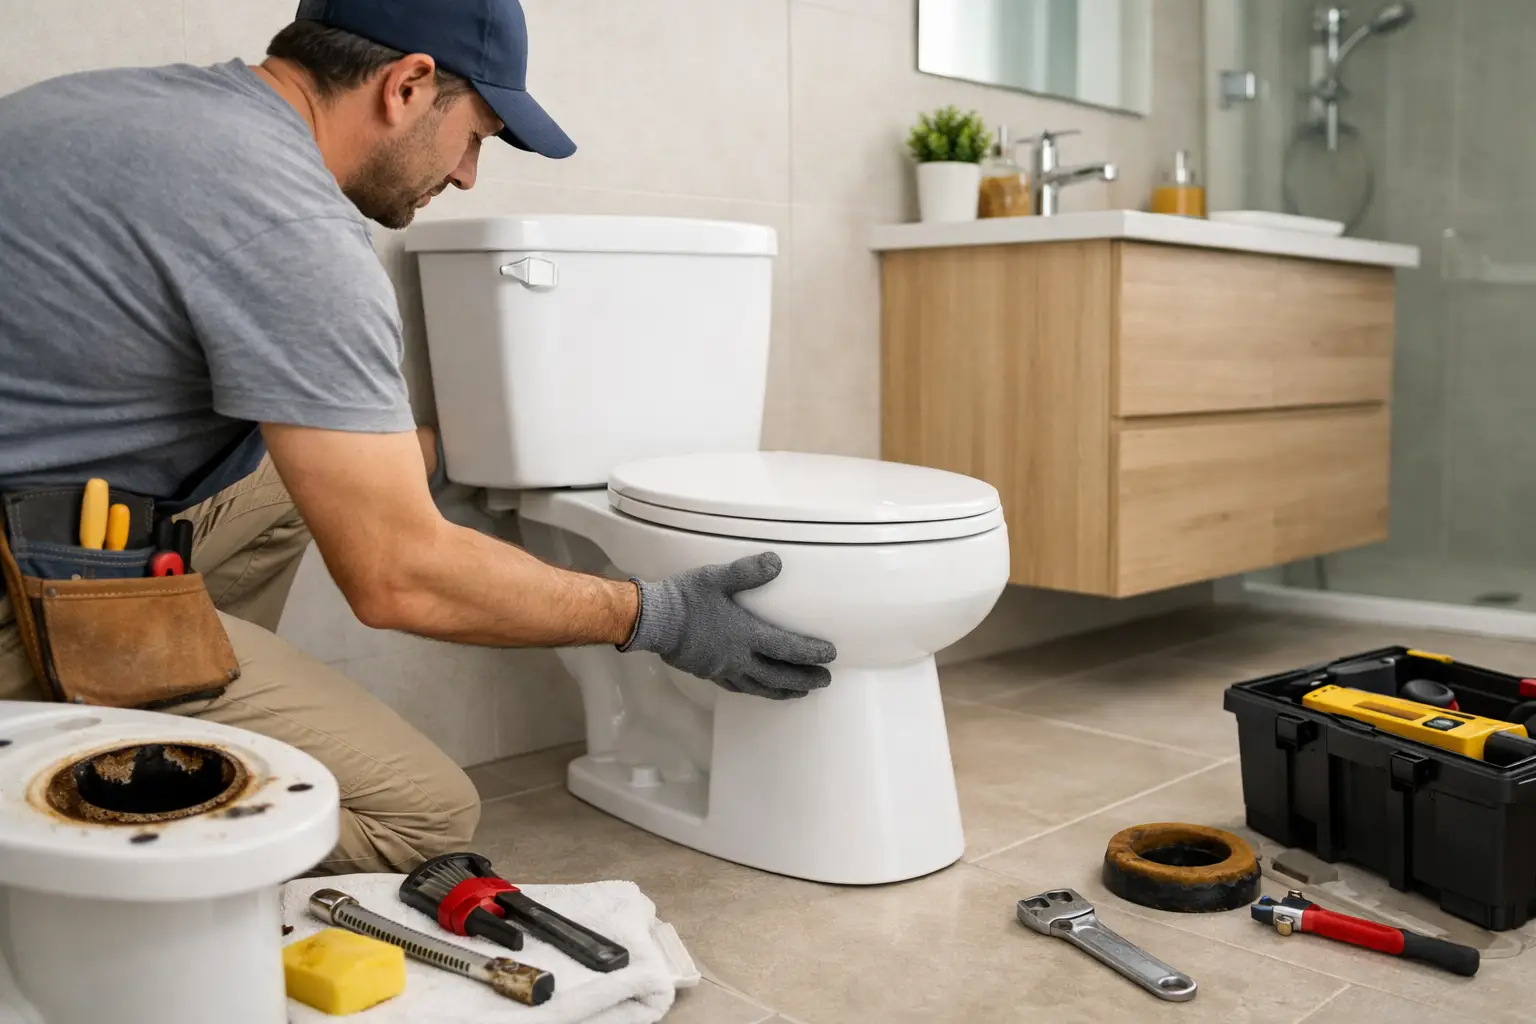
A toilet can look like a simple fixture swap until the old unit comes off and reveals a damaged flange, soft flooring, or a supply valve that will not shut off. This toilet replacement step guide helps Bay Area homeowners plan the job correctly, avoid common leak risks, and recognize when a professional installation is the safer choice.
Start With the Right Toilet and Measurements
Before removing anything, confirm that the replacement toilet fits the bathroom. The most important measurement is the rough-in: the distance from the finished wall behind the toilet to the center of the floor drain bolts. A 12-inch rough-in is common, but older homes may have a 10-inch or 14-inch layout. Measure from the wall itself, not from the baseboard, because trim can produce an inaccurate result.
Also measure the available clearance in front of the bowl, beside the toilet, and below any vanity or cabinet door. Compact toilets can make a small powder room more comfortable, while an elongated bowl may be a better fit where space allows. If you are replacing a toilet during a bathroom remodel, choose the fixture after final flooring and wall finishes have been planned. Floor height can affect the toilet connection and the flange position.
Check the bowl height, flush style, and water supply connection before purchase. Comfort-height models are popular for many adults, but standard-height toilets can work better for young children or shorter household members. The best choice depends on the room and who uses it.
Gather Materials Before You Disconnect the Old Toilet
A rushed installation is where preventable problems begin. Have the new toilet, a compatible wax ring or wax-free seal, new closet bolts if needed, a supply line, shims, and bathroom-safe caulk ready before shutting off the water. You will also need adjustable pliers, a wrench, a screwdriver, a small hacksaw or bolt cutters for corroded bolts, a putty knife, towels, a bucket, gloves, and a level.
Do not assume the old supply line or wax ring can be reused. These parts are inexpensive compared with the cost and disruption of repairing a hidden leak. A new supply line is particularly worthwhile if the existing line is old, stiff, discolored, or difficult to tighten safely.
Shut Off Water and Remove the Existing Toilet
Turn the shutoff valve clockwise, then flush the toilet to empty the tank. Hold the handle down to drain as much water as possible. Use a sponge or wet-dry vacuum to remove the remaining water from the tank and bowl. This extra step keeps the work area cleaner and makes the toilet lighter to handle.
Disconnect the supply line from the tank, keeping a bucket beneath it for residual water. Remove the tank first if the toilet is a two-piece model. It is easier and safer to lift the bowl once the tank is off.
Next, remove the bolt caps at the base of the toilet and loosen the nuts on the closet bolts. Corrosion is common, especially in older bathrooms. If a nut will not turn without stressing the toilet base or damaging the floor, cut the bolt rather than forcing it. Rock the bowl gently to break the old wax seal, then lift it straight up and move it onto a towel or cardboard.
Toilets are awkward, heavy, and fragile. Two people are often the right choice, particularly in tight bathrooms, upstairs rooms, or homes with narrow hallways.
Inspect the Flange, Subfloor, and Shutoff Valve
This is the step that separates a basic fixture replacement from a lasting installation. Scrape away all old wax, then inspect the closet flange – the fitting that anchors the toilet and connects it to the drain pipe. The flange should be secure, intact, and positioned at or slightly above the finished floor. Cracked plastic, broken bolt slots, severe corrosion, or a flange sitting too low can prevent a reliable seal.
Look closely at the floor around the drain. Softness, staining, loose tile, swelling, or a persistent odor may point to a past leak. Covering these signs with a new toilet does not solve the problem. Depending on the damage, the repair may involve the flange, subfloor, finished flooring, or drain connection below.
Test the shutoff valve while the toilet is disconnected. It should close fully and show no seepage around the handle, valve body, or supply connection. A failing valve can turn a straightforward toilet replacement into an unexpected water event. If the valve is seized, leaking, or located in a difficult-to-access area, have it repaired before proceeding.
Install the New Seal and Set the Bowl
Place new closet bolts into the flange and position them evenly. Then install the wax ring or wax-free seal according to the manufacturer’s instructions. Wax rings remain widely used and effective when matched to the flange and floor height. Wax-free seals can be useful where a toilet may need to be lifted and repositioned, but they still require a sound flange and proper alignment.
Lower the bowl directly over the bolts in one controlled motion. Avoid sliding it into place. Once the toilet compresses a wax ring, lifting the bowl can compromise the seal and may require a new ring. Press down evenly using your body weight, then check that the bowl is level.
Tighten the nuts gradually, alternating from side to side. The goal is to secure the toilet without over-tightening the porcelain. Too much pressure can crack the base, sometimes immediately and sometimes after the fixture has been in use. If the toilet rocks slightly, use noncompressible plastic shims at the base, recheck the level, trim the shims, and then tighten carefully.
Attach the Tank and Water Supply
For a two-piece toilet, install the tank using the supplied bolts, washers, and gaskets. Follow the fixture instructions closely because hardware arrangements vary. Tighten evenly until the tank is stable, but do not force it down against the bowl.
Connect a new flexible supply line from the shutoff valve to the tank fill valve. Hand-tighten first, then use only the small additional turn needed to secure the connection. Open the shutoff valve slowly and watch every connection as the tank fills.
Let the tank fill, then flush several times. Check the base of the toilet, the supply line connections, the tank bolts, and the floor around the flange. A dry floor after one flush is encouraging, but repeat the test while listening for a slow refill, a running fill valve, or drainage that seems sluggish.
Caulk the Base Correctly
A neat bead of bathroom-rated caulk around the front and sides of the toilet base creates a finished appearance and helps prevent mop water, dust, and moisture from collecting beneath the fixture. Many installers leave the back section uncaulked so a future leak is easier to notice.
Caulk should never be used to hide a rocking toilet or compensate for an uneven floor. Stabilize the fixture first. If the toilet moves after installation, stop using it until the cause is corrected. Movement can break the drain seal even if no water is visible yet.
When a Professional Should Handle the Replacement
A homeowner can often replace a toilet when the valve works, the flange is sound, the floor is solid, and the new fixture matches the existing rough-in. The job becomes more technical when there is water damage, a cracked flange, a cast-iron drain connection, recurring clogs, a toilet that sits far from level, or plumbing changes required for a remodel.
Commercial bathrooms, rental properties, and multi-unit buildings also deserve extra care. A leak from an upper-floor bathroom can affect more than one space, and building access, shutoff coordination, and code requirements may shape the work. For these situations, a licensed contractor can identify the underlying issue instead of replacing only the visible fixture.
Fullhouse Remodeling & Handyman Services can help homeowners and property managers with toilet replacement, flange and flooring concerns, bathroom repairs, and larger remodel work across the Bay Area. A clear assessment before installation can prevent a small plumbing task from becoming a damaged-floor repair.
A new toilet should sit solidly, flush reliably, and leave the floor dry every time. If any part of the installation feels uncertain – especially the flange, shutoff valve, or flooring – addressing it before the bowl is sealed in place is the practical way to protect the bathroom for years to come.
