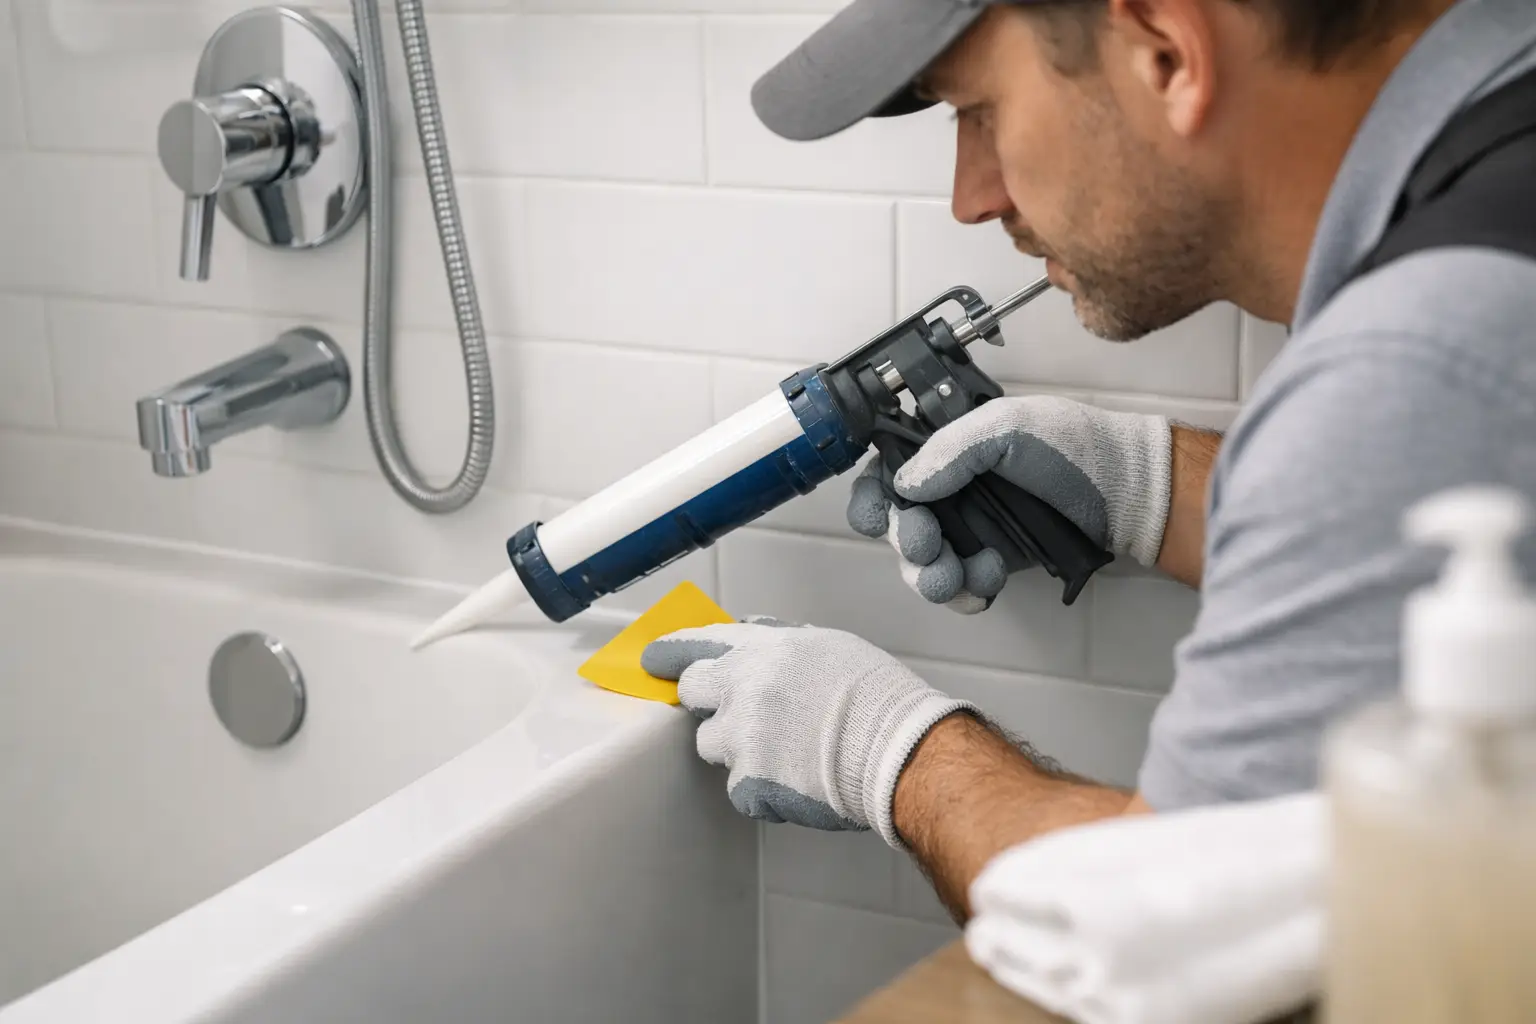
A dark, cracked line around a tub or shower is more than a cosmetic problem. Failed caulk can let water reach drywall, subflooring, and framing behind the finished surface, where damage may grow unnoticed. Knowing how to replace bathroom caulk gives you a straightforward way to protect one of the wettest areas of your home before a small maintenance task turns into a larger repair.
This is a manageable project when the gap is stable, the surrounding tile or tub is secure, and there is no evidence of ongoing water damage. The work is less about squeezing out a new bead quickly and more about removing the old material completely, cleaning the joint, and giving the new caulk the dry surface it needs to bond.
Know When Bathroom Caulk Needs Replacement
Caulk should be replaced when it is cracked, pulling away from either side of the joint, missing in spots, permanently stained, or showing mold that returns after cleaning. Pay close attention to the seam where a tub meets tile, shower corners, the joint around a shower pan, and the backsplash behind a bathroom sink.
Not every dark spot means the caulk has failed. Surface mildew on an otherwise solid, flexible bead may come off with appropriate cleaning. But if the bead feels brittle, has gaps at the edges, or is soft underneath, replacement is the reliable fix.
Before starting, look for signs that point to a problem beyond caulk: loose tile, a spongy floor, peeling paint on the wall outside the shower, water stains below a bathroom, or a tub that shifts when weight is applied. Fresh caulk will not solve a leak behind the wall or a moving fixture. Those conditions deserve professional inspection before the area is sealed again.
Choose the Right Caulk for the Job
For tub, shower, and sink joints, use a high-quality silicone or siliconized bathroom caulk labeled for kitchens and baths. It should be waterproof and mold-resistant. Pure silicone generally offers the best flexibility and water resistance, especially around showers and tubs, but it can be harder to tool and is usually not paintable.
Siliconized acrylic caulk is easier to apply and clean up, and some versions can be painted. It can be a reasonable choice for a dry backsplash seam or certain trim details. For joints exposed to daily shower water, however, silicone is usually the stronger long-term option.
Color matters as well. Clear caulk can work along glass or when surfaces do not match, but it may make uneven application more visible. White is common around tubs and toilets. If you are sealing a tile-to-tile corner, choose a color that complements the grout and tile rather than assuming white is the only option.
Gather Your Tools Before Removing the Old Bead
Having the right materials ready prevents delays once the joint is exposed. You will typically need:
- A utility knife or caulk removal tool
- A stiff plastic scraper
- Needle-nose pliers for stubborn pieces
- Bathroom cleaner and mold remover, if needed
- Rags or paper towels and rubbing alcohol
- Painter’s tape for crisp edges
- A caulk gun and the correct bathroom caulk
Use a plastic scraper rather than a metal blade on acrylic tubs, fiberglass shower surrounds, and finished fixtures. Metal can scratch these surfaces easily. A utility knife is useful for cutting caulk free, but work slowly and keep the blade angled away from tile faces, tub finishes, and waterproofing surfaces.
How to Replace Bathroom Caulk Step by Step
Remove every trace of loose or failed caulk
Start with a completely dry shower, tub, or sink area. Cut along both edges of the old caulk bead with a utility knife, then pull out the largest sections by hand or with pliers. Some caulk comes out in long strips; older silicone often breaks into smaller pieces.
Scrape away the remaining residue. This step takes patience because new caulk does not adhere well to leftover silicone or soap film. If a caulk remover is used, follow its directions carefully, protect nearby finished surfaces, and clean away all residue afterward.
Avoid widening the joint unnecessarily. The goal is to clear the existing gap, not carve into grout, wallboard, or the tub flange. If grout is damaged in a tiled shower corner, address that separately instead of filling a deep missing section with caulk alone.
Clean the joint and eliminate mildew
Once the old material is gone, clean the exposed surfaces to remove soap scum, body oils, dust, and mildew. A bathroom cleaner can handle general buildup. For stubborn mold staining, use an appropriate mold-cleaning product according to its label and ventilate the room well.
Do not mix cleaning products. In particular, never combine bleach-based cleaners with ammonia or acidic products. After cleaning, wipe the joint with rubbing alcohol to remove final residue and allow it to dry fully.
Drying is not optional. Water trapped in a joint can prevent adhesion and contribute to mold under the new bead. Leave the area open for several hours, or longer if the bathroom is humid. A fan can help move air through the room.
Set the gap up for a clean, supported seal
If the joint is narrow and consistent, you can usually caulk it directly. Wider or deeper gaps may need foam backer rod before caulking. Backer rod supports the bead, reduces unnecessary caulk use, and helps the seal flex properly as materials expand and contract.
For a clean line, apply painter’s tape along both sides of the joint, leaving only the desired caulk width exposed. This is particularly helpful on textured tile or when working around a visible tub edge. Make sure both tape lines follow the same path before applying caulk.
If you are caulking around a bathtub, fill the tub partway with water first. The added weight can place the tub in its normal loaded position, reducing the chance that the new bead separates later when the tub flexes under use.
Apply a controlled bead
Cut the caulk tube nozzle at a 45-degree angle. Start with a small opening. It is easy to make the opening larger if needed, but an oversized opening delivers too much caulk and creates a messy joint.
Hold the gun at roughly a 45-degree angle to the seam and apply steady pressure as you move at a consistent pace. Aim to slightly overfill the gap without piling caulk high above the surface. Stop and start points are where leaks often develop, so try to complete each straight section in one pass.
Tool the bead immediately before it skins over. A caulk finishing tool produces a consistent profile, but a gloved finger lightly dampened with water can work as well. Use one smooth pass to press the caulk into both sides of the joint and shape a slightly concave bead. Wipe excess caulk from the tool or glove as you go rather than smearing it onto surrounding surfaces.
Remove painter’s tape right away, pulling it back over itself at an angle. Waiting until the caulk starts to set can tear the edge of the fresh bead.
Let the New Caulk Cure Before Using the Bathroom
A bead can look dry well before it is ready for shower water. Check the manufacturer’s label for cure time, which is commonly at least 24 hours and may be longer depending on the product, bead thickness, temperature, and room humidity. Keep the shower, tub, or sink dry during that period.
This is one area where rushing causes repeat work. Steam, splashes, or cleaning chemicals introduced too soon can weaken the seal before it fully cures. If the bathroom is the only one in the home, plan the project around a time when it can stay out of service.
Common Caulking Mistakes That Cause Early Failure
The most common mistake is applying new caulk over old caulk. It may look better briefly, but the old failed material remains the weak point underneath. Another is using the wrong product, such as standard painter’s caulk, in a shower joint that needs flexibility and water resistance.
Poor surface preparation is equally costly. Caulk applied over damp tile, soap residue, or mold may separate within weeks. Applying a bead that is much too large can also lead to cracking because thick caulk does not flex as evenly as a properly shaped seal.
Finally, remember that caulk is a flexible sealant, not structural repair material. If a shower wall moves, a tub is loose, or tiles are coming free, the movement needs to be corrected first. Otherwise, even well-applied silicone will eventually pull apart.
A clean caulk line makes a bathroom look cared for, but its real value is the barrier it creates behind the scenes. If the joint is badly deteriorated, water damage is suspected, or you want the work handled quickly with professional preparation, Fullhouse Remodeling & Handyman Services can help Bay Area homeowners restore a reliable seal and address the conditions that caused it to fail.
