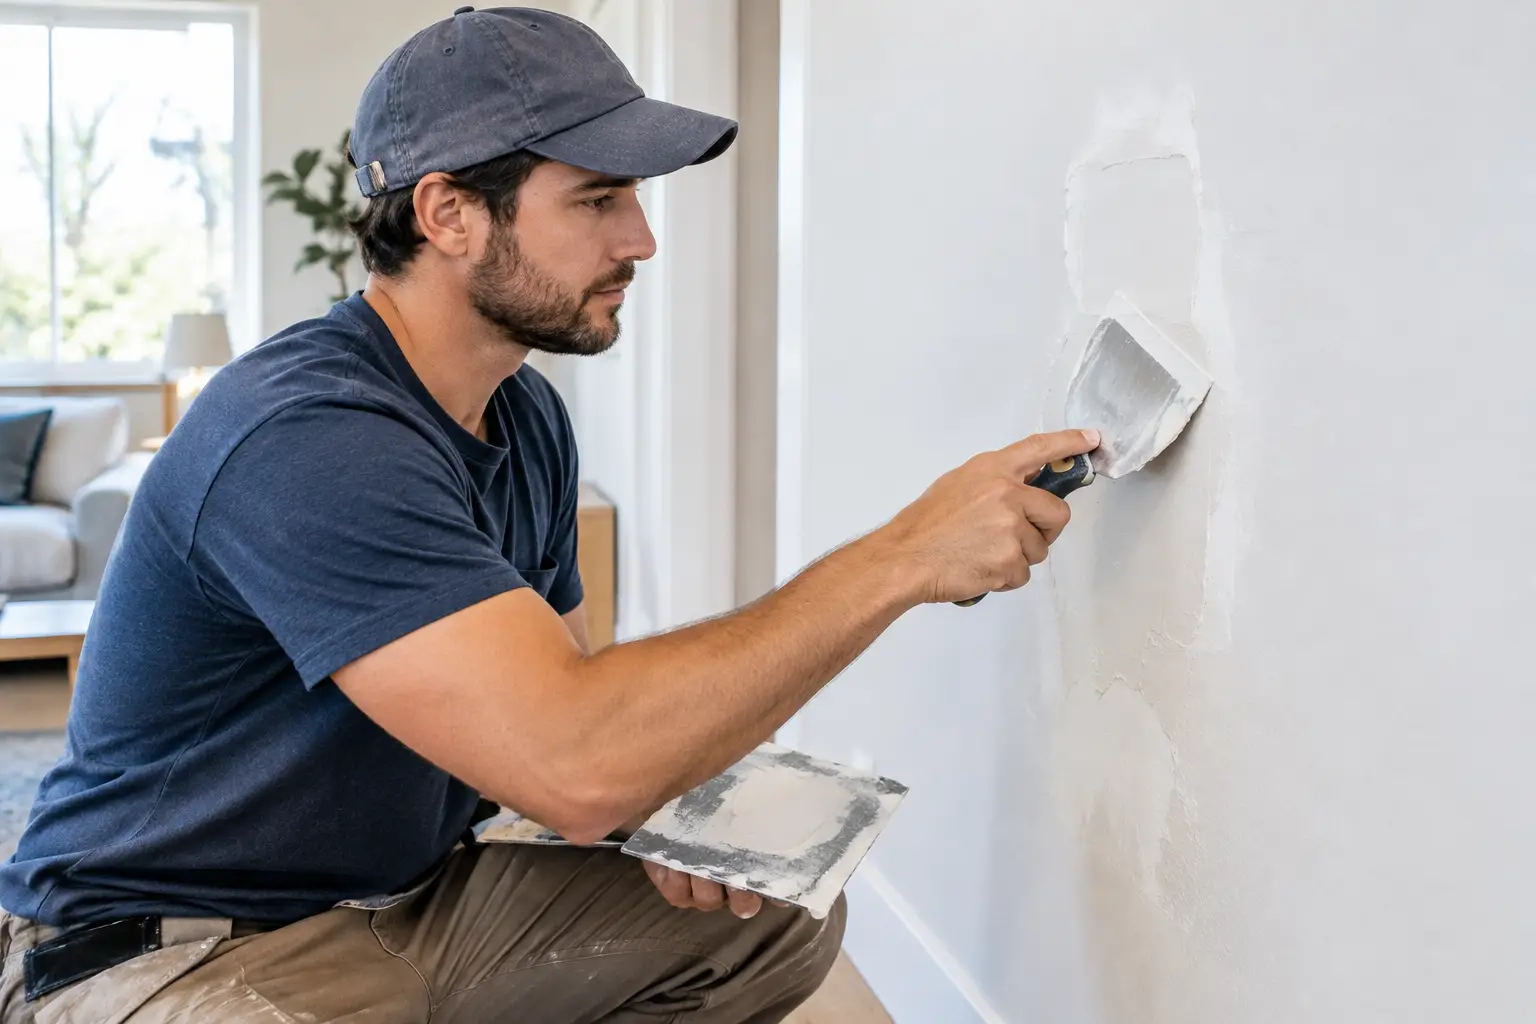
A small wall flaw can make an otherwise well-kept room look unfinished. The good news is that most surface damage is repairable with basic materials and careful prep. Knowing how to repair damaged drywall starts with identifying what caused the damage, because a nail hole, a door-knob dent, and a water-stained soft spot should not be handled the same way.
The goal is not simply to cover the hole. A proper repair restores a flat, stable surface that blends into the surrounding wall after primer and paint. Rushing the drying or sanding stages is usually what leaves a visible patch behind.
Start by assessing the drywall damage
Before picking up joint compound, press gently around the damaged area. Drywall should feel firm. If it is soft, swollen, crumbling, or stained, there may be an active moisture issue behind the wall. Repairing the surface before fixing a plumbing leak, roof leak, or window intrusion will only lead to another damaged patch.
Also look for cracks that continue across a ceiling or run from the corners of doors and windows. A hairline crack can come from normal settling, but recurring or widening cracks may point to movement in the framing. In that case, the repair may need more than compound. Loose drywall, damaged framing, or an improperly installed corner bead should be secured before the finish work begins.
For any large opening, check for wires, pipes, or low-voltage cables before cutting. Turn off power at the breaker if the damage is near an outlet, switch, or electrical fixture. If you suspect mold, extensive water damage, or a structural problem, pause the DIY repair and arrange a professional inspection.
Gather the right repair materials
Most drywall repairs require a utility knife, sanding sponge or fine-grit sandpaper, putty knife, drywall joint compound, primer, and matching paint. The size of the damage determines what else you need.
For small holes and dents, lightweight spackle is often enough. For larger repairs, use setting-type or ready-mixed joint compound along with drywall tape. Paper tape creates a strong, clean seam when embedded correctly, while mesh tape is convenient for small patches and crack repairs. Larger holes also need a piece of replacement drywall and a wood backing strip or drywall repair clips to support it.
Keep a wider finishing knife on hand, usually 10 to 12 inches wide. The wider each coat extends beyond the patch, the less likely the repaired area will show as a raised outline under paint. Dust control matters, especially in occupied homes, so lay down a drop cloth and use a vacuum or damp cloth after sanding.
How to repair damaged drywall with small holes and dents
Nail holes, picture-hanger holes, shallow dents, and minor dings are the simplest repairs. First, remove any loose paper or crumbled gypsum around the opening. For a dent, lightly score loose edges with a utility knife so the compound has a clean, stable surface to grip.
Apply a small amount of spackle or joint compound with a putty knife, pressing it into the hole rather than skimming only across the top. Scrape away excess material and let it dry according to the product instructions. Deep holes may shrink as they dry, so plan on applying a second thin coat.
Once dry, sand the repair lightly until it feels flush with the wall. Run your hand over the area instead of relying only on what you see. Your fingers will catch ridges that paint can make more noticeable. Wipe away dust, apply primer, and paint the repaired section.
A common mistake is applying too much material in one thick coat. Thick patches take longer to dry, can crack, and require more sanding. Several thin coats produce a cleaner result with less mess.
Repairing popped drywall nails or screws
A raised circle in the wall often means a fastener has loosened from the framing. Do not just cover it with compound. Drive a new drywall screw into the stud about an inch above or below the popped fastener, setting the head slightly below the drywall surface without tearing the paper face.
Then remove or recess the old fastener. Cover both spots with joint compound, allow it to dry, sand lightly, and apply a second feathered coat. If fasteners keep popping in the same location, the drywall may be moving or the framing may need attention.
Fixing medium holes with a patch
Holes left by door handles, accidental impacts, or removed wall hardware often need more support than spackle can provide. Self-adhesive mesh patches work well for small openings, generally a few inches across, when the surrounding drywall is solid.
Center the patch over the hole and press it firmly into place. Apply joint compound over the mesh, beginning in the center and working outward. Extend the compound several inches beyond the patch edge. Let the first coat dry completely, then sand only enough to remove high spots.
Apply a second, wider coat with a larger knife. The patch should gradually disappear into the wall rather than ending at a noticeable edge. Depending on the wall texture and lighting, a third thin coat may be necessary. Prime the finished repair before painting, since bare compound absorbs paint differently than painted drywall.
Mesh patches are fast, but they are not the right choice for every hole. A patch that is too large or placed in a high-impact area can flex and crack later. For bigger openings, install a solid drywall patch instead.
Repairing a large hole in drywall
For a hole larger than a few inches, cut the damaged area into a neat square or rectangle. Straight edges make fitting and finishing a replacement piece much easier. Use a drywall saw or utility knife carefully, keeping clear of anything inside the wall cavity.
Place wood backing strips behind the opening, extending several inches beyond the top and bottom or sides of the cutout. Hold each strip in place and drive drywall screws through the existing wall into the wood. This creates a firm surface for the new patch. For larger openings, adding backing on all sides provides better support.
Cut a replacement drywall piece to fit the opening with a small, even gap around the edges. Secure it to the backing with drywall screws. The screw heads should sit just below the surface without breaking through the paper face.
Cover the seams with drywall tape and apply the first coat of joint compound. Press the tape into the wet compound, then smooth it with the knife to remove air bubbles and excess mud. Cover the screw heads at the same time.
After the first coat dries, apply a wider second coat that extends well beyond the taped seams. A third, very thin coat helps blend the patch into the rest of the wall. Let every coat dry fully before sanding. Trying to sand damp compound gums up the paper and pulls the repair apart.
Match the wall texture before painting
A flat patch on a textured wall will stand out even if the repair itself is perfectly smooth. Orange peel, knockdown, and hand-applied textures each need a different approach. Test any texture product on scrap cardboard or an inconspicuous area first. The goal is to match the size, density, and direction of the existing pattern.
Prime the repaired area after sanding and before applying finish paint. Primer seals the joint compound and helps prevent a dull, uneven spot known as flashing. For the best blend, use the same paint sheen as the surrounding wall. Flat paint is more forgiving, while eggshell, satin, and semi-gloss finishes can reveal even minor surface imperfections under side lighting.
If the wall paint has faded over time, touching up only the patch may still leave a visible color difference. Painting from corner to corner on the affected wall often gives the most consistent result.
When it makes sense to call a drywall professional
Drywall work looks simple until the repair involves water damage, a textured finish, high ceilings, repeated cracking, or a hole large enough to expose framing. These jobs can require leak repairs, replacement insulation, framing corrections, or careful blending across a broad wall area.
Busy homeowners, landlords, and property managers may also prefer professional help when a repair needs to be completed quickly and cleanly before a move-in, inspection, listing, or family event. A qualified handyman or licensed contractor can assess the underlying issue, protect the surrounding space, and deliver a paint-ready finish without leaving drywall dust throughout the home.
For Bay Area homes, Fullhouse Remodeling & Handyman Services can help with drywall repairs ranging from small wall damage to larger repair work connected to plumbing, doors, windows, or remodeling projects.
A repaired wall should disappear when you step back from it. Give each coat enough time to dry, feather the compound wider than feels necessary, and address the cause of the damage before you paint. Those details are what turn a quick patch into a lasting repair.
