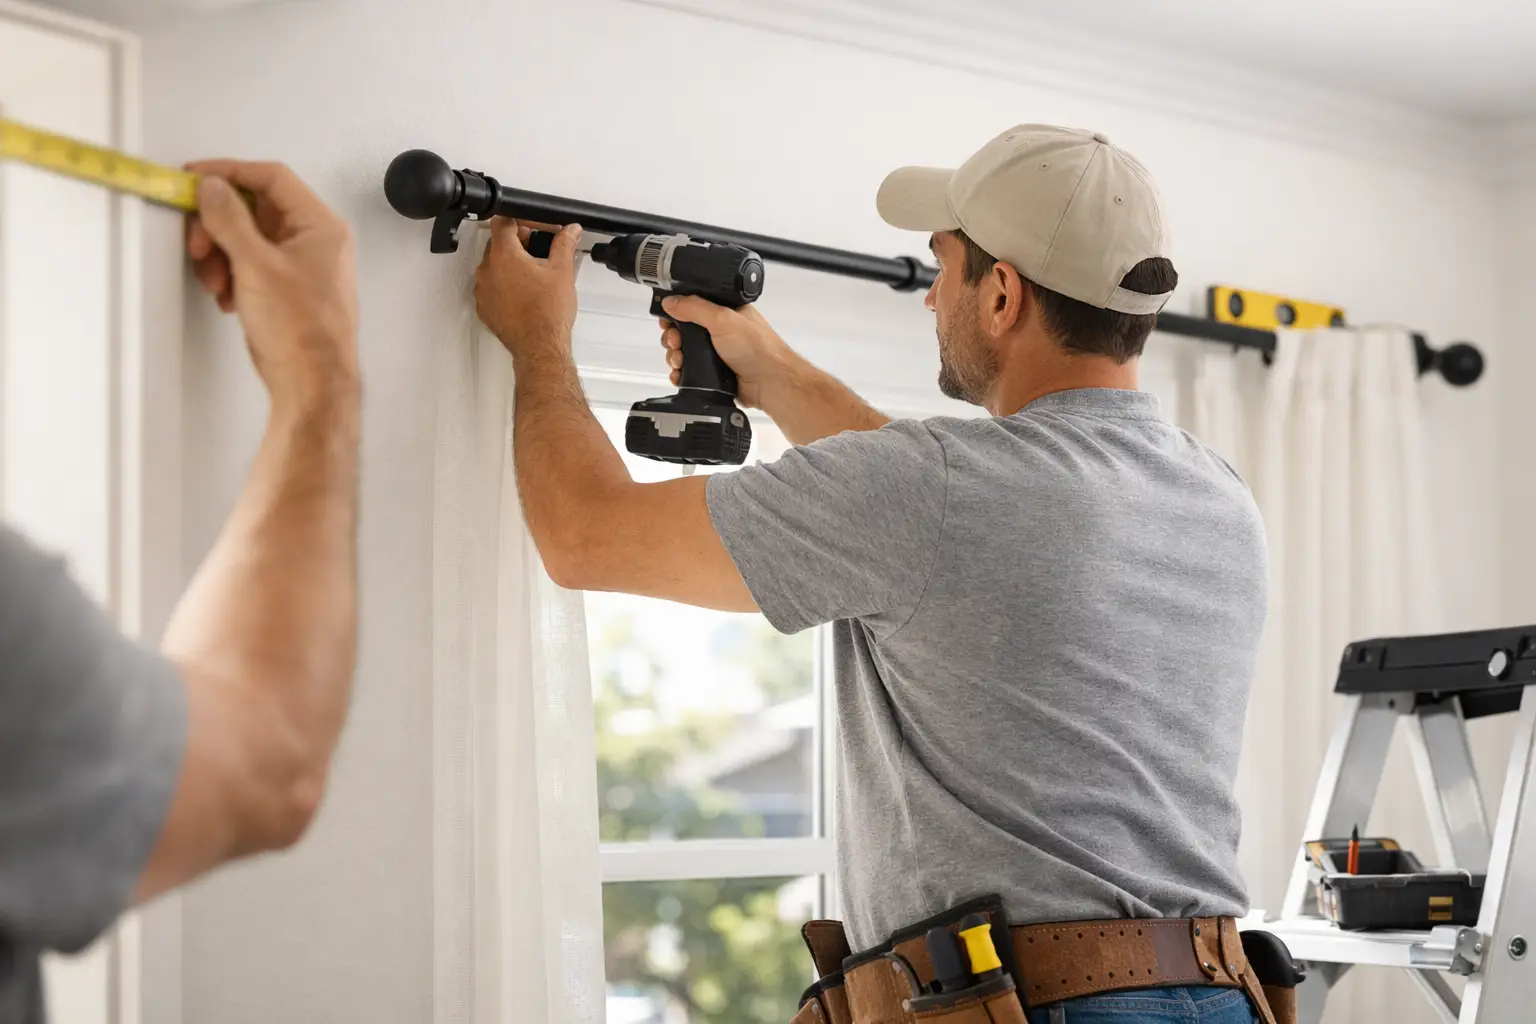
Crooked rods, loose brackets, and curtains that drag the floor usually come from the same problem – the setup was rushed. If you’re figuring out how to hang curtain rods, the difference between a clean, finished look and a frustrating redo comes down to a few practical decisions before the first hole is drilled.
Curtain rods seem simple, but they sit at the intersection of style, measurement, hardware, and wall condition. In some homes, especially older Bay Area properties with plaster, patched drywall, or uneven window trim, what looks like a quick install can turn into a repair job if the rod isn’t properly supported. Done right, though, this is one of the fastest ways to make a room feel more polished.
How to hang curtain rods without guesswork
Start by deciding where the rod should sit in relation to the window, not just where the trim ends. A common mistake is mounting the brackets too low and too narrow, which makes the window look smaller and blocks natural light when the curtains are open. In most rooms, the rod should be placed several inches above the window frame and extend beyond each side of the window.
That extra width gives the curtains space to stack off the glass, so the room gets more daylight and the window appears larger. The exact distance depends on the window size, curtain style, and whether you’re using lightweight panels or heavier blackout drapes. There is no one-size-fits-all measurement, but there is a clear rule: aim for visual balance and proper support.
Before you mark anything, confirm three things: the curtain length, the rod width, and the wall material. If your curtains are already purchased, measure from the top of the panel to the point where you want the hem to fall. If you’re still choosing curtains, decide whether you want them to just touch the floor, hover slightly above it, or puddle a bit. Most homeowners prefer a clean break right at the floor or just above it because it looks finished and is easier to maintain.
What you need before you start
The basic tools are simple: a tape measure, pencil, level, drill, screwdriver, anchors if needed, and a stud finder if you’re mounting into drywall. If the rod is wide or the curtains are heavy, you may also need a center support bracket. Many rods come with hardware, but included screws and anchors are not always the best match for your wall.
That matters more than people expect. Drywall can hold a light rod with the right anchor, but plaster can crack if drilled carelessly, and wood trim may allow for a more secure fastener. If you are hanging rods over large windows or using layered curtains, the hardware needs to match the load. A bracket that feels secure on day one can start to pull loose after repeated opening and closing if it was under-mounted.
Measure first, then mark the bracket locations
Measure the width of the window, including trim if the trim defines the visual edge. Then determine how far past each side you want the rod to extend. In many cases, extending the rod several inches past the frame on both sides creates the best appearance. For wider windows, more extension may look better and function better.
Next, decide the mounting height. Installing the rod a few inches above the top of the window frame is standard, but if the room has low ceilings, placing the rod higher can draw the eye upward and make the space feel taller. The key is consistency. If you have multiple windows in the same room, they should be mounted at the same visual height whenever possible.
Once you have the width and height, mark the bracket position on one side. Then use a level to transfer that height to the other side. Do not trust the ceiling, trim, or floor to be level, especially in older homes. Always level from your own marks. A rod that follows a crooked ceiling will still look crooked.
If your rod requires a center bracket, measure the midpoint between the two outer brackets and mark it carefully. This support is often necessary for longer spans, and skipping it can cause the rod to bow over time.
Drill into the right material
This is where many installations go wrong. If a screw goes directly into a stud, great – that is the strongest option. But bracket placement is driven by window location, so studs do not always line up where you need them. In that case, use the right wall anchor for the wall type and curtain weight.
For standard drywall, quality anchors usually provide enough support for light to medium curtains. For heavier curtains, wider rods, or high-use rooms, stronger anchors or alternate mounting points may be needed. In plaster, pre-drilling carefully helps reduce cracking. If you’re mounting into wood trim, make sure the trim is solid and not split or loose.
After drilling the pilot holes, attach the brackets firmly but do not overtighten to the point of damaging the wall surface. Give each bracket a light pull test before placing the rod. If anything shifts, fix it now. Once the curtains are on, small issues become bigger ones.
Hanging the rod and checking the final fit
With the brackets installed, place the rod and confirm it sits level. If you’re using rings, grommet panels, or tab-top curtains, thread or position them before securing any finials that block access. Then hang the panels and step back several feet.
This final check matters. Up close, a rod may look centered, but from across the room you may notice one panel sits lower, the curtains are too short, or the stack-back eats into the glass. Small adjustments to rod width or panel placement can make the whole window look more intentional.
Open and close the curtains a few times. The rod should stay stable, the brackets should not flex, and the panels should move without catching. If the rod shifts or dips, add support before calling the job finished.
Common mistakes when learning how to hang curtain rods
The most common problem is mounting the rod too close to the window frame. That compresses the look of the window and limits how far the curtains can open. The second is choosing hardware based only on appearance, not on strength. Decorative rods still need to hold weight, especially in bedrooms and living rooms where curtains are used every day.
Another mistake is ignoring wall conditions. Fresh paint, old patchwork, and textured surfaces can all affect how securely hardware sits. In rental properties and older homes, previous repairs behind the wall may not offer strong support where you expect it. That does not mean the job cannot be done well. It just means the install may need a more careful approach.
Then there is spacing. Brackets that are too far apart can cause sagging, while brackets set too close together can leave the rod unstable at the ends. Manufacturer recommendations help, but real-world conditions matter just as much.
When it makes sense to call a pro
If you’re hanging a basic rod over a small bedroom window, this can be a manageable DIY project. If you’re dealing with extra-wide windows, tall ceilings, layered treatments, heavy blackout panels, damaged drywall, or plaster walls, the risk of a sloppy or weak installation goes up quickly.
Professional installation is often worth it when appearance matters and the wall surface is not forgiving. A clean curtain rod install should look centered, level, and proportionate to the room. It should also stay secure through daily use. That combination of finish quality and structural support is where experience makes a difference.
For homeowners who would rather avoid extra patching, repeat drilling, or hardware failures, having a handyman handle the install can save time and leave a better result. Companies like Fullhouse Remodeling & Handyman Services often help with these smaller finish tasks as part of a larger list of home updates, repairs, and installations.
A better result comes from slowing down at the start
Curtain rods are one of those details that quietly shape the whole room. When the height is right, the brackets are solid, and the panels hang cleanly, the space looks sharper without calling attention to the work behind it. Take the extra time to measure carefully, mount into the right material, and check the fit from across the room. That is usually what separates a quick fix from a result you’ll be happy to live with.
