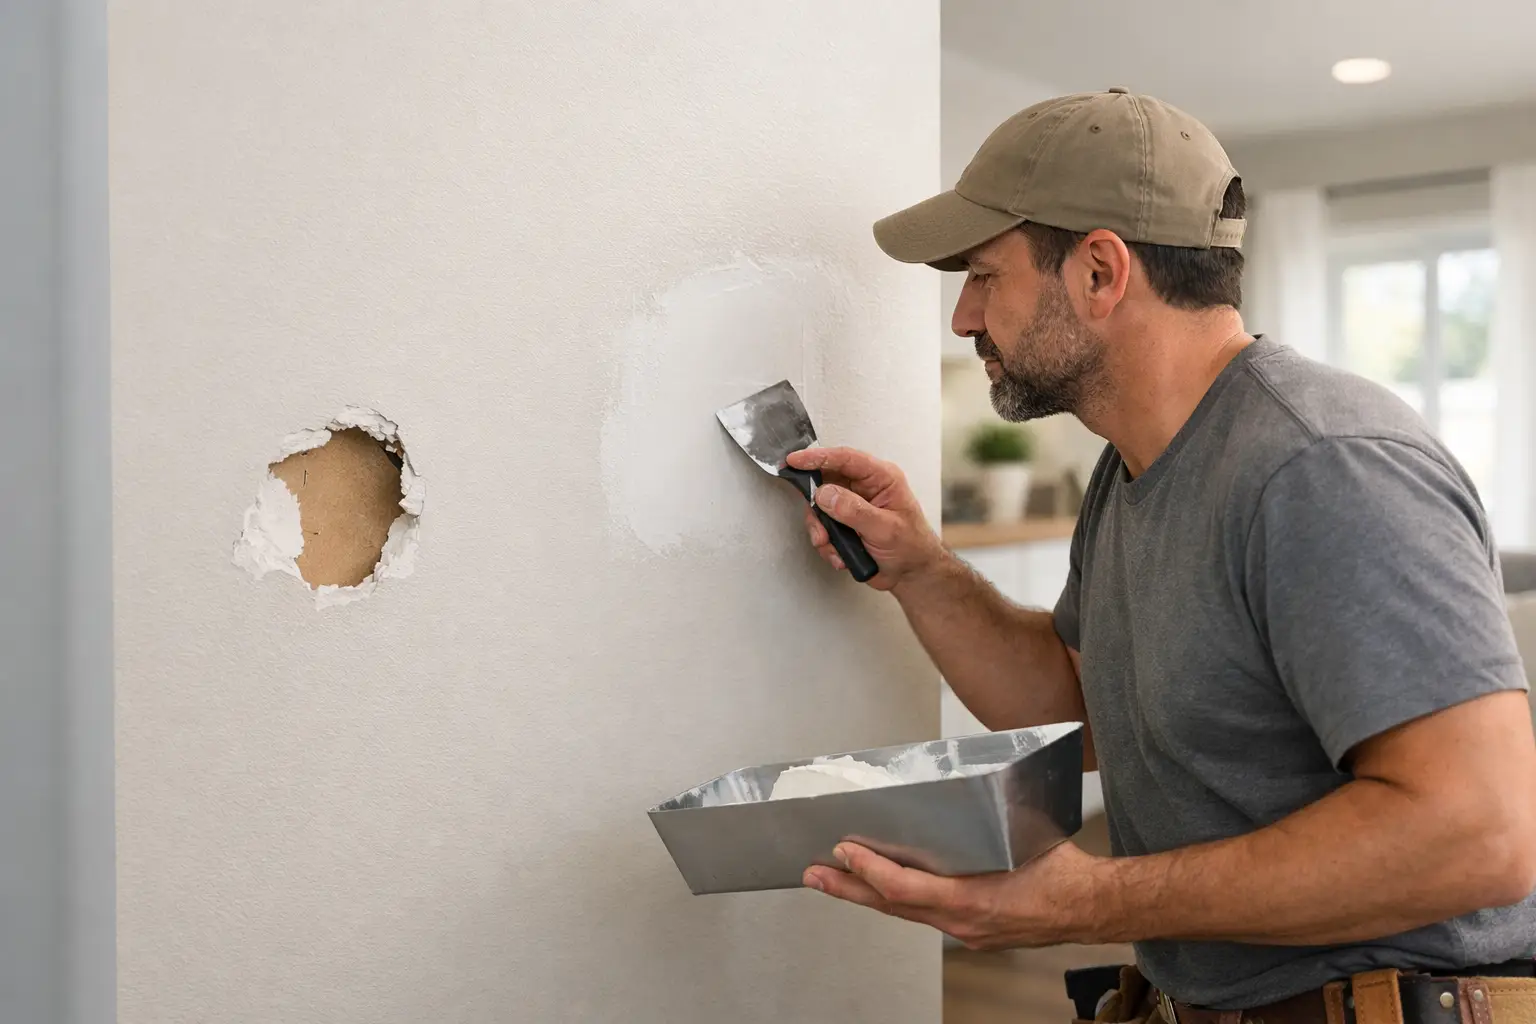
A door handle, a moving mishap, an old wall anchor, or an overenthusiastic game of indoor catch can leave a drywall hole that draws attention every time you enter the room. Knowing how to repair drywall holes helps you make a practical call: handle a small cosmetic fix yourself, or bring in a professional when the wall needs more than a quick patch.
The goal is not simply to cover the opening. A proper repair restores a firm surface, blends with the surrounding wall, and holds up after painting. The right method depends on the hole’s size, the wall’s condition, and whether there may be plumbing, electrical wiring, or other damage behind it.
Start by checking what caused the hole
Before reaching for spackle, inspect the area around the damage. Press gently on the drywall. If it feels soft, crumbles, stains easily, or has a musty odor, the hole may be connected to a moisture problem rather than a single impact. Patching over damp drywall usually leads to another repair later.
Also consider the location. A hole near an outlet, switch, plumbing fixture, or appliance may have wires or pipes behind it. Turn off power to the nearby circuit before working close to electrical boxes. If the hole was caused by a leak, repair the source of the water first and allow the framing area to dry fully.
For a straightforward impact hole in sound, dry drywall, choose the repair method by size.
Tools and materials for drywall hole repair
Most small and medium repairs require a utility knife, sanding sponge, putty knife, joint compound, drywall patch or replacement drywall, drywall screws, primer, and matching wall paint. Larger repairs may also need a drywall saw, a scrap piece of lumber for backing, mesh or paper drywall tape, and a drill.
Use lightweight spackle for shallow nail holes and tiny dents. It dries quickly and is easy to sand, but it is not the best choice for deep holes or wide repairs. Joint compound takes longer to dry, yet it feathers out more smoothly and is usually the better material for patches larger than a few inches.
Keep a drop cloth under the work area. Drywall dust travels farther than most homeowners expect, especially when sanding near furniture, floors, or HVAC returns.
How to repair drywall holes by size
Nail holes, pinholes, and shallow dents
Small holes from picture hangers, nails, or minor wall damage are the fastest repairs. Remove any loose paper or raised material around the hole with a utility knife. Apply a small amount of spackle with a putty knife, pressing it into the opening rather than just spreading it across the surface.
Scrape away the excess so the fill sits nearly flush with the wall. Once dry, sand lightly with a fine sanding sponge. If the repair shrinks slightly, add a second thin coat. Prime the patched spot before painting, particularly on darker walls or walls with a flat finish where flashing can show through.
Holes from wall anchors or screws
Wall anchors often leave ragged openings that are wider than they first appear. Remove the anchor if possible. If a plastic anchor will not pull out cleanly, push it slightly below the drywall surface rather than tearing more wall paper around it.
Trim loose edges, then fill the opening with joint compound or a quality patching compound. Deep anchor holes may require two or three thin coats. Let each coat dry before applying the next one. Thick compound dries unevenly, shrinks more, and can crack.
Sand only enough to level the surface. Over-sanding can expose the drywall paper around the repair and create a bigger area to fix.
Holes up to about 4 inches wide
For a doorknob-sized hole, a self-adhesive mesh patch can work well when the surrounding drywall is solid. Square off any torn edges and remove dust. Center the patch over the hole, then apply joint compound in broad, thin passes.
Start by covering the mesh completely. After that coat dries, apply a second coat that extends several inches beyond the first. The wide feathered edge is what prevents a visible raised square after painting. A third skim coat may be needed for a smooth wall with strong side lighting.
Mesh patches are convenient, but they are not ideal for every job. They can leave a slight bump if the compound is applied too heavily or not feathered far enough. In a highly visible hallway, dining room, or room with smooth walls, a cut-out drywall patch often provides a better finish.
Larger holes and damaged sections
A larger hole needs solid backing. Begin by cutting the damaged area into a clean square or rectangle. This may feel counterintuitive, but straight edges make it easier to install a secure replacement piece.
Look inside the opening for wires, pipes, or insulation before cutting further. Then slide short wood backing strips into the opening behind the existing drywall. Hold them in place and fasten them through the wall face with drywall screws. Leave enough backing exposed along each edge to support the replacement patch.
Cut a new piece of drywall to fit the opening. Secure it to the backing strips with screws, keeping screw heads slightly below the drywall surface without breaking the paper face. Apply drywall tape over each seam, cover the tape with joint compound, and smooth it with a wide taping knife.
After the first coat dries, apply two wider coats of compound, allowing drying time between each. Each coat should extend farther than the last. This gradual transition is the difference between a repair that disappears and one that remains visible after the room is painted.
Sand, prime, and match the paint carefully
Drywall repairs often look acceptable until paint makes their edges stand out. Use a fine-grit sanding sponge and work with light pressure. Run your hand across the patch with your eyes closed if needed. Your fingertips can detect ridges that are difficult to see.
Wipe away sanding dust with a dry microfiber cloth or vacuum it carefully. Apply primer to the repaired area before paint. Primer seals the compound so it does not absorb paint differently from the surrounding wall.
Even with the correct paint color, a touch-up may look different because existing paint fades and collects wear over time. For the most consistent appearance, paint from corner to corner on the repaired wall. This is especially helpful with eggshell and satin finishes, which can show sheen differences under window light.
Textured walls require an additional step. Match the texture before priming and painting, using the appropriate spray, brush, sponge, or hand-applied technique. Test the texture on a piece of cardboard first. A smooth patch on an orange-peel wall is usually more noticeable than the original hole.
When a drywall repair is not a DIY job
Many drywall holes are manageable, but some repairs call for experienced help. Repeated cracks, soft drywall, water staining, mold-like growth, loose ceiling material, or a large section of broken wall can point to an underlying issue. A patch alone will not correct structural movement, a plumbing leak, or damage to framing.
Professional service is also a practical choice when the repair involves a large opening, ceiling drywall, textured finishes, or a high-visibility space. These jobs require careful backing, seam work, sanding control, and paint blending. For busy homeowners, landlords, and property managers, having the repair completed correctly in one visit can prevent a small wall issue from becoming a drawn-out project.
Fullhouse Remodeling & Handyman Services helps Bay Area property owners with drywall repairs ranging from minor patching to larger damaged sections, with workmanship focused on a clean, paint-ready result.
A good drywall repair should disappear into the room, not become the first thing you notice on the wall. Take the time to address the cause, use the patching method that fits the hole, and do not rush the drying and finishing steps.
