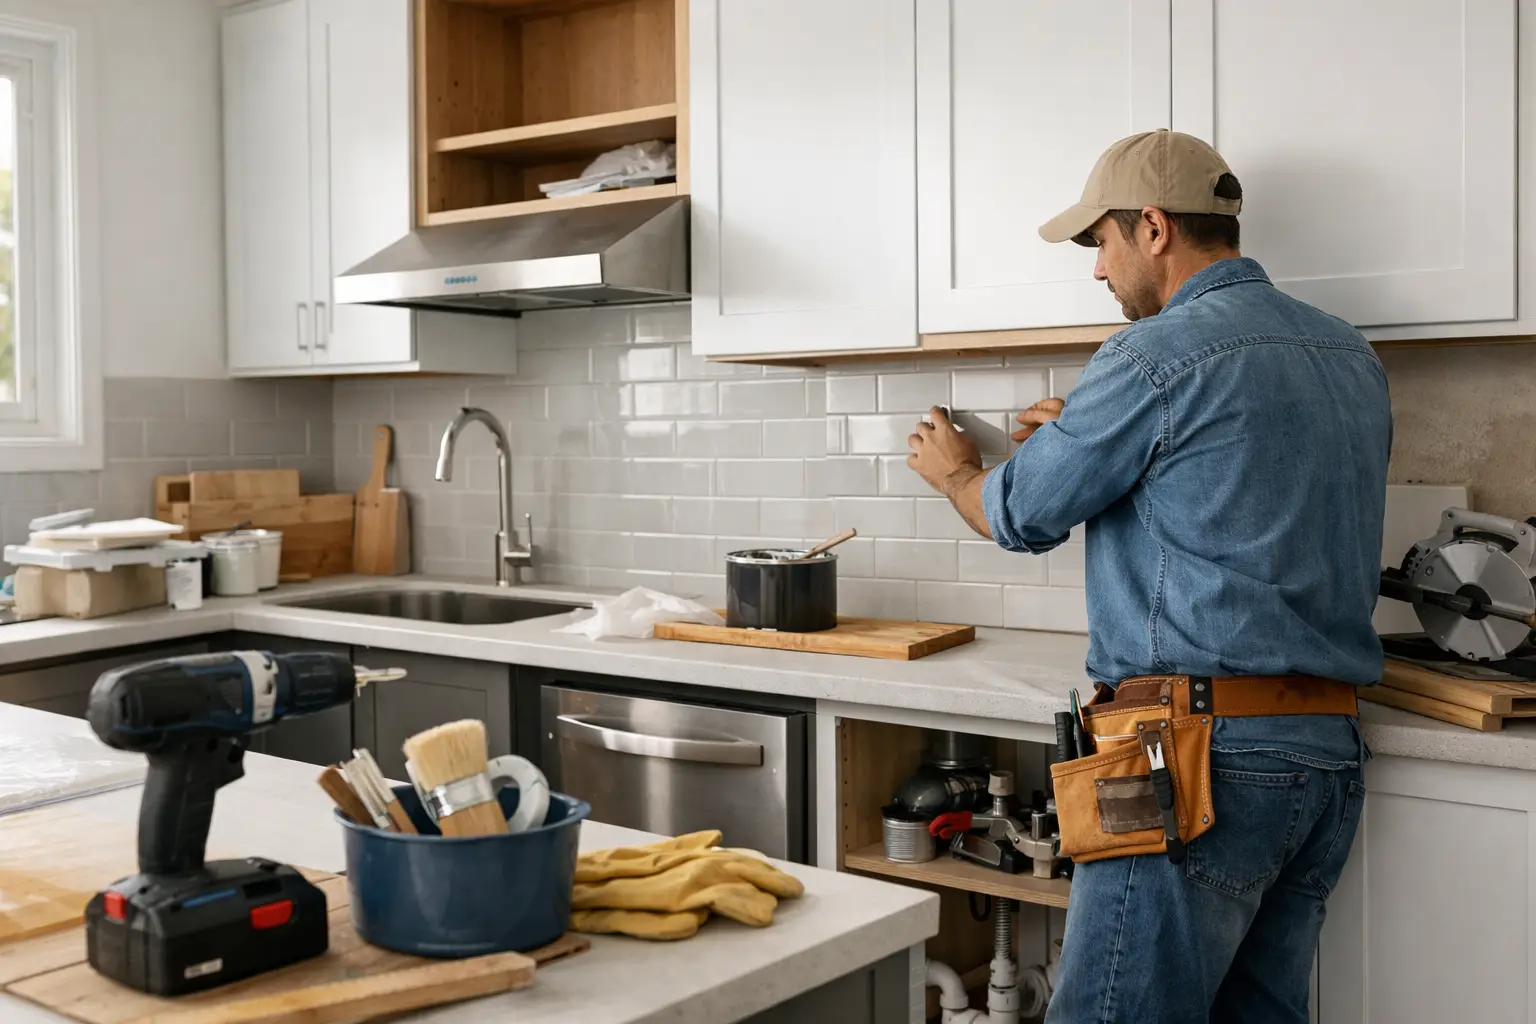
A kitchen remodel can look simple on a mood board and become complicated the moment the first cabinet comes off the wall. Learning how to remodel kitchen DIY starts with an honest decision: handle the cosmetic work yourself, but do not take chances with structural changes, gas lines, major plumbing, or electrical circuits. The best DIY kitchen projects save money because they are planned carefully, not because every task is done without professional help.
Start With a Kitchen Remodel Plan, Not Demolition
Before buying tile or picking a paint color, define what is not working in the current kitchen. Is the layout cramped? Is storage limited? Are the cabinets worn but structurally sound? Or is the real issue outdated lighting, damaged flooring, and tired finishes?
Write down the must-have improvements, then separate them from nice-to-have upgrades. For example, better pantry storage and a working ventilation system may be priorities, while a statement backsplash can wait. This keeps the project focused when unexpected repairs appear behind walls or under flooring.
Measure the room carefully, including wall lengths, ceiling height, window and door openings, appliance clearances, and the location of existing plumbing and electrical connections. Photograph every wall before demolition. Those photos are useful when you need to locate a pipe, identify a wire route, or reinstall trim in the right place.
A layout change can add real function, but it also raises the level of difficulty. Keeping the sink, dishwasher, range, and refrigerator close to their existing locations usually reduces plumbing, electrical, drywall, and permit-related work. Moving one appliance may be worthwhile. Moving all of them can turn a manageable refresh into a full construction project.
Build a Realistic Scope and Sequence
Kitchen work has an order. Ignoring it creates rework, damaged finishes, and delays. A typical sequence is planning and approvals, ordering materials, protecting adjacent areas, demolition, rough plumbing and electrical, wall repairs, flooring, cabinets, countertops, backsplash, finish connections, paint, and final hardware.
Do not schedule countertop measuring until base cabinets are fully installed, level, and secured. Do not install a backsplash before countertops are in place. And do not order appliances without confirming their exact dimensions and required clearances. Small errors in these steps can force expensive adjustments later.
Know What You Can DIY and What Needs a Pro
Many homeowners can successfully take on demolition, painting, cabinet hardware replacement, shelving, trim, basic backsplash tile, and installing ready-to-assemble cabinets. These jobs require patience, accurate measuring, and the right tools more than specialized licensing.
The line changes when work affects safety systems or the building itself. In much of the Bay Area, permits and licensed trade work may be required for electrical panel changes, new circuits, plumbing relocations, gas work, ventilation changes, load-bearing wall modifications, and other substantial alterations. Requirements vary by city and by scope, so verify them before work begins rather than after an inspection issue arises.
Call a qualified professional when you find water damage, mold-like growth, termite or dry rot damage, ungrounded wiring, leaking supply lines, or walls that may be structural. These are not cosmetic problems. Covering them up can lead to greater damage and a more difficult resale process.
For homeowners who want to manage part of the work themselves, a hybrid approach often makes sense. You can handle preparation, painting, demolition, and finish details while bringing in licensed help for rough plumbing, electrical, ventilation, or structural repairs. It preserves hands-on control without gambling with safety.
Set Up the Space Before You Remove Anything
A kitchen remodel disrupts the room your household uses most. Create a temporary kitchen with a microwave, coffee maker, basic dishes, a small prep surface, and access to water. Plan simple meals before the project starts, especially if the range and sink will be unavailable for more than a few days.
Protect nearby rooms with plastic barriers, floor coverings, and taped seams. Demolition dust travels farther than most people expect, especially in older homes with gaps around doors, vents, and trim. Remove or cover furniture in adjoining spaces and keep a clear path for hauling debris out of the house.
Turn off power and water to the affected areas before removing cabinets, fixtures, or appliances. Label shutoffs, breaker locations, and any disconnected supply lines. If you are unsure whether a wire is live or a pipe is active, stop and have it checked.
Demolish Carefully
Demolition is not just swinging a hammer. Remove doors, drawers, appliances, and countertop sections methodically. Use a utility knife to cut caulk and paint lines before pulling trim or cabinets away from the wall. This reduces drywall damage and makes repairs faster.
Expect surprises in an older kitchen. You may uncover uneven framing, missing insulation, patched plumbing, previous water leaks, or walls that are not square. Build time into the schedule for those conditions. A cabinet run that looks straightforward on paper may need shims, scribing, or wall repair before it can be installed properly.
Install Cabinets With Precision
Cabinets set the standard for nearly every finish that follows. If they are not level, plumb, and securely fastened, countertops may not fit correctly, doors may drift open, and backsplash lines will look uneven.
Find and mark wall studs. Establish a level reference line around the room based on the highest point of the finished floor. Start with upper cabinets when possible, since base cabinets will not be in the way. Use a ledger board to support uppers during installation, then fasten cabinets through solid framing as directed by the manufacturer.
For base cabinets, begin at the highest point of the floor and work outward. Shim where needed, clamp adjoining cabinet faces together before fastening them, and repeatedly check for level, plumb, and alignment. Do not rely on a wall being straight. In many homes, it will not be.
If you are reusing cabinets, a thorough cleaning, new hardware, adjusted hinges, and fresh paint can make a large visual difference. Refinishing is usually more forgiving when cabinet boxes are solid and the layout already works. Replacement makes more sense when storage is poor, boxes are damaged, or doors cannot be repaired economically.
Choose Finishes That Can Handle Daily Use
A kitchen should look good on day one and still work hard years later. Choose flooring that stands up to spills, chair movement, pet traffic, and regular cleaning. Select cabinet pulls that feel comfortable in your hand, and consider how often textured tile, deep grout lines, or high-gloss surfaces will need attention.
Countertop decisions depend on budget, maintenance tolerance, and cooking habits. Some materials resist heat and scratches better than others. Some need regular sealing or more careful cleaning. Instead of selecting purely by appearance, bring home samples and view them in the kitchen at different times of day.
Lighting deserves the same attention as cabinets. A single ceiling fixture leaves shadows on prep areas. Combine general overhead light with task lighting at counters and sinks, then add accent lighting only if it serves the design. Any new wiring or fixture changes should be completed before drywall and final paint.
Finish Strong Without Rushing the Last 10 Percent
The final stage includes paint touch-ups, caulk, appliance installation, cabinet adjustments, outlet covers, hardware, and cleanup. This is where a project begins to look complete, but it is also where rushed work becomes visible. Check drawer reveals, door gaps, caulk lines, grout coverage, and the fit of every appliance.
Keep a short punch list and complete it room by room. Test the sink, dishwasher, disposal, range hood, outlets, and lighting before putting tools away. Save product information, paint colors, extra tile, and appliance records in one place for future maintenance.
A DIY kitchen remodel does not have to mean doing every job alone. The smartest result comes from knowing your limits, protecting your home, and bringing in skilled help when the work calls for it. A well-planned kitchen should give you a space that works better every morning, not a list of problems waiting behind the walls.
