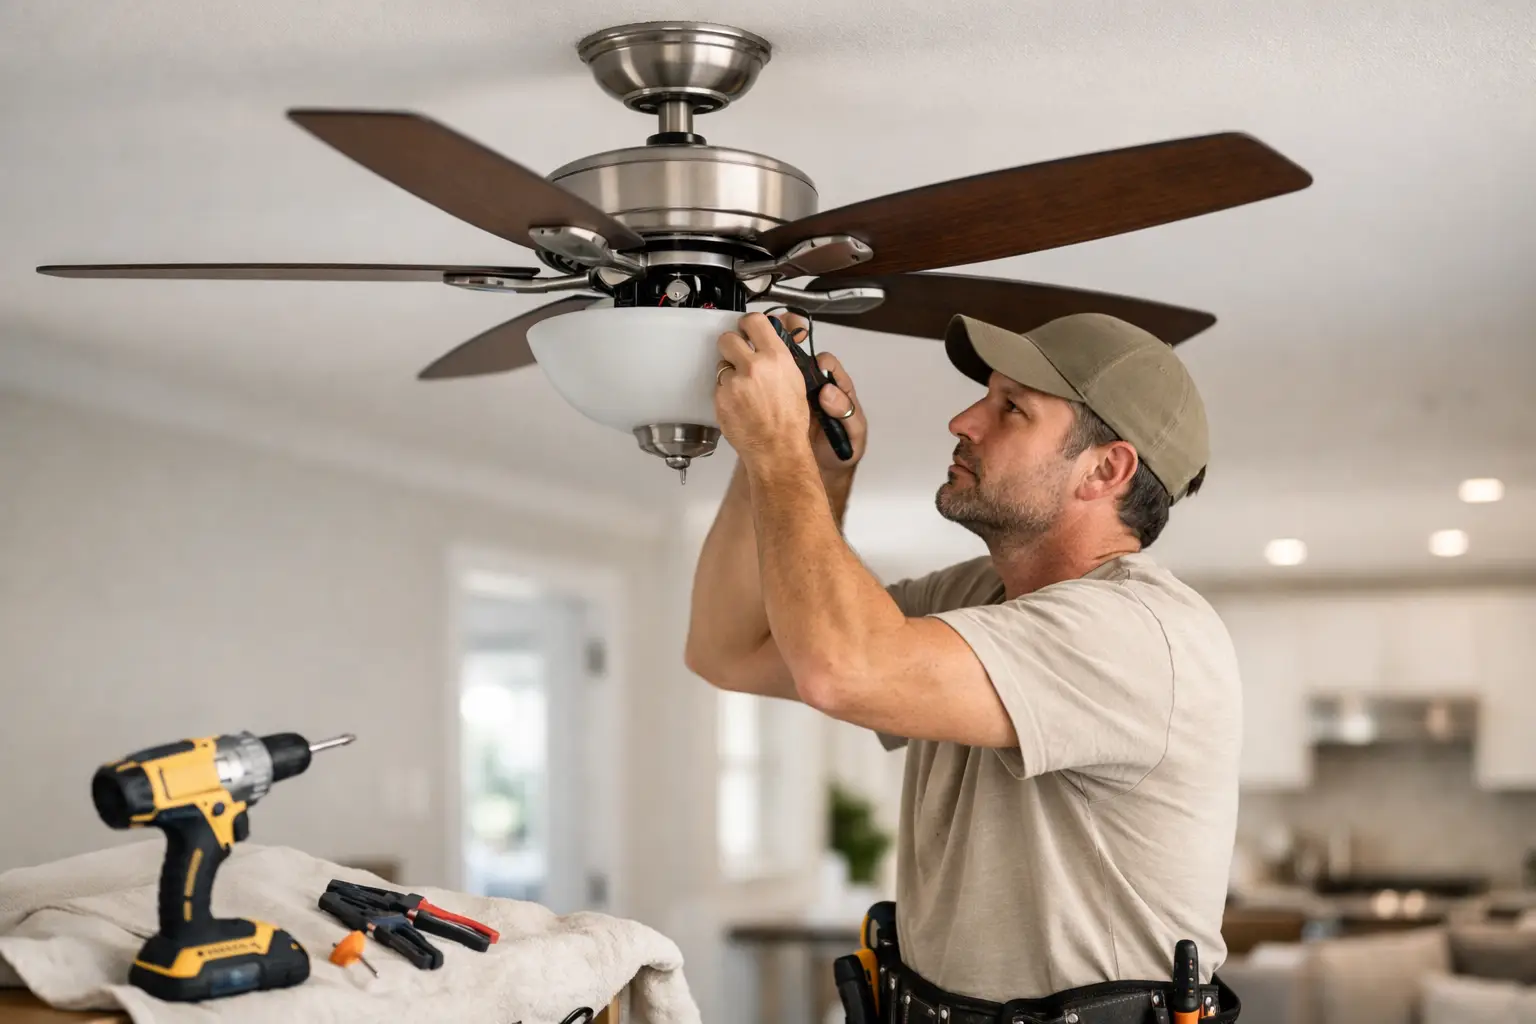
A ceiling fan can make a bedroom, living room, or home office more comfortable without relying as heavily on air conditioning. But the fan is only as secure as the electrical box and framing behind it. A fan that wobbles, pulls loose, or has incorrect wiring is not a minor inconvenience – it is a safety issue. If you are researching how to install ceiling fan hardware yourself, start by confirming that the location, wiring, and support are right for the job.
For a straightforward replacement on a properly rated box, an experienced homeowner may be able to complete the installation carefully. If the box is not fan-rated, the wiring is unclear, the ceiling is unusually high, or a new switch is needed, bringing in a qualified professional is the safer and faster choice.
Start With the Right Fan and Mounting Location
Choose a fan size that suits the room rather than buying solely based on appearance. Smaller rooms generally need a more compact blade span, while large living areas need a wider fan or more than one fan. Ceiling height matters just as much. Blades should typically sit at least 7 feet above the floor, and many homes need a downrod to bring the fan to an effective height below a tall ceiling.
Check the fan’s instructions before opening the box. The manufacturer will specify the approved mounting method, blade clearance, weight, wiring diagram, and whether the fan can be installed on an angled ceiling. Do not assume that every fan works with every ceiling or wall control.
Turn off power at the electrical panel before touching the existing fixture. Then use a non-contact voltage tester at the ceiling wires to verify that the circuit is truly off. A wall switch in the off position is not enough protection, especially in older homes where wiring may have been altered over time.
How to Install Ceiling Fan on a Properly Rated Box
The most critical part of a ceiling fan installation is usually hidden above the ceiling. A standard light-fixture box is not automatically designed to support a moving fan. Fans create both weight and vibration, so the electrical box must be specifically rated for ceiling fan support and secured to framing or an approved fan brace.
Remove the old light fixture after confirming the power is off. Take a clear photo of the existing wire connections before disconnecting them. This can be useful when the existing wiring is conventional and in good condition, but it does not replace the fan manufacturer’s wiring instructions.
Inspect the box closely. A suitable box should be labeled as fan-rated and firmly attached. If it moves when gently tested, is plastic, appears damaged, or has no visible fan-support rating, stop there. The box may need to be replaced with a fan-rated box and brace installed between ceiling joists. That is not a shortcut step. The fan mounting bracket is only as reliable as the support behind it.
Once the box is confirmed, attach the fan’s mounting bracket using the screws supplied or specified by the manufacturer. Tighten it securely, but do not strip the threads. The bracket should sit flat against the box with no rocking or gaps.
Assemble the Fan Before You Lift It
Most ceiling fans are easier to handle when the motor housing and downrod assembly are put together on the floor. Follow the sequence in the manual, especially when routing wires through the downrod. Pinched wires can cause damage that is difficult to see once the canopy is in place.
If the fan has a downrod, make sure the retaining pin, clip, and set screws are all installed exactly as directed. These small components carry real responsibility. Skipping one or leaving a set screw loose can allow movement at the connection point.
Leave the blades off until after the motor is mounted unless the manufacturer directs otherwise. This makes the fan lighter and easier to maneuver. It also reduces the chance of scraping a wall, ceiling, or nearby furniture while you are on a ladder.
Use a stable ladder placed on a level surface. Do not stand on a chair, a countertop, or the top cap of a ladder. Ceiling fan installation is safer with a second person available to steady the ladder, hand up parts, or support the fan while connections are made.
Connect the Wires Carefully
Hang the fan motor from the mounting bracket’s hook or temporary support feature, if included. Never let the fan hang from its electrical wires. Match the connections to the manufacturer’s diagram and the wiring present in your ceiling box.
In many installations, the fan’s ground wire connects to the house ground, the fan’s white wire connects to the neutral wire, and the fan’s black wire connects to the switched hot wire. Some fans also have a blue wire for a separate light kit connection. Wire colors can vary by fan, and older homes may have nonstandard or confusing wiring. When the colors, switch behavior, or number of wires do not make sense, do not guess.
Use approved wire connectors sized for the conductors. Tug each connection gently to confirm it is secure, then carefully fold the wires into the box without forcing or sharply bending them. Attach the canopy so it fully covers the bracket and wiring. A clean finish matters, but the goal is also to protect the connections from damage.
A remote-controlled fan can simplify controls, but its receiver must be installed in the canopy exactly as the manufacturer specifies. Make sure there is enough space for it without cramming or pinching wires. If you are replacing a fan controlled by two wall switches, verify how the new fan is designed to handle separate fan and light controls before making connections.
Install Blades, Light Kit, and Controls
Attach the blade brackets and blades in the correct order. Tighten all screws evenly. Loose blade screws are one of the most common causes of wobble and ticking noises, particularly after a fan has run for several weeks.
Install the light kit, bulbs, shades, and remote receiver components as directed. Use bulbs within the fixture’s rated wattage and type requirements. For fans with integrated LED lights, do not attempt to substitute parts that are not approved for that model.
Restore power at the panel and test the fan from the wall switch and remote or pull chain. Run it first on low, then medium and high. Confirm that the light works, the fan changes speeds properly, and the direction switch is accessible. Most fans should run counterclockwise in warm weather to create a cooling breeze. In cooler months, a low clockwise setting can help circulate warm air without creating a draft.
Check for Wobble Before Calling the Job Finished
A small amount of movement can be normal, but a properly installed fan should not shake noticeably. If it wobbles, turn it off and recheck the blade screws, blade brackets, downrod connections, and mounting bracket. Compare blade heights from the ceiling to make sure no blade is bent or installed out of position.
Many fans include a balancing kit with small weights. Use it only after confirming the fan itself is secure and all hardware is tight. A balancing kit can correct minor blade imbalance; it cannot fix a loose electrical box, damaged bracket, or incorrect mounting method.
Listen for clicking, humming, scraping, or repeated ticking as the fan runs. A faint motor hum may be normal for some models, but loud or changing noises deserve attention. Turn the power off before investigating anything near the blades or housing.
When It Makes Sense to Hire a Professional
A professional installation is the right call when the job involves new wiring, a new ceiling location, an unsupported box, a vaulted ceiling, damaged wires, or an older electrical system. It is also worth considering for heavy fans, smart controls, multiple switch locations, and rental or commercial properties where dependable documentation and code-conscious work matter.
For Bay Area homeowners, landlords, and property managers, a ceiling fan job can quickly reveal drywall repair needs, framing limitations, or electrical issues hidden above the fixture. Fullhouse Remodeling & Handyman Services can assess the mounting point, complete the installation correctly, and leave the space clean and ready to use.
A ceiling fan should feel quiet, steady, and effortless once it is installed. Taking the time to secure the right support and verify every connection is what turns a new fixture into a reliable improvement for the room.
