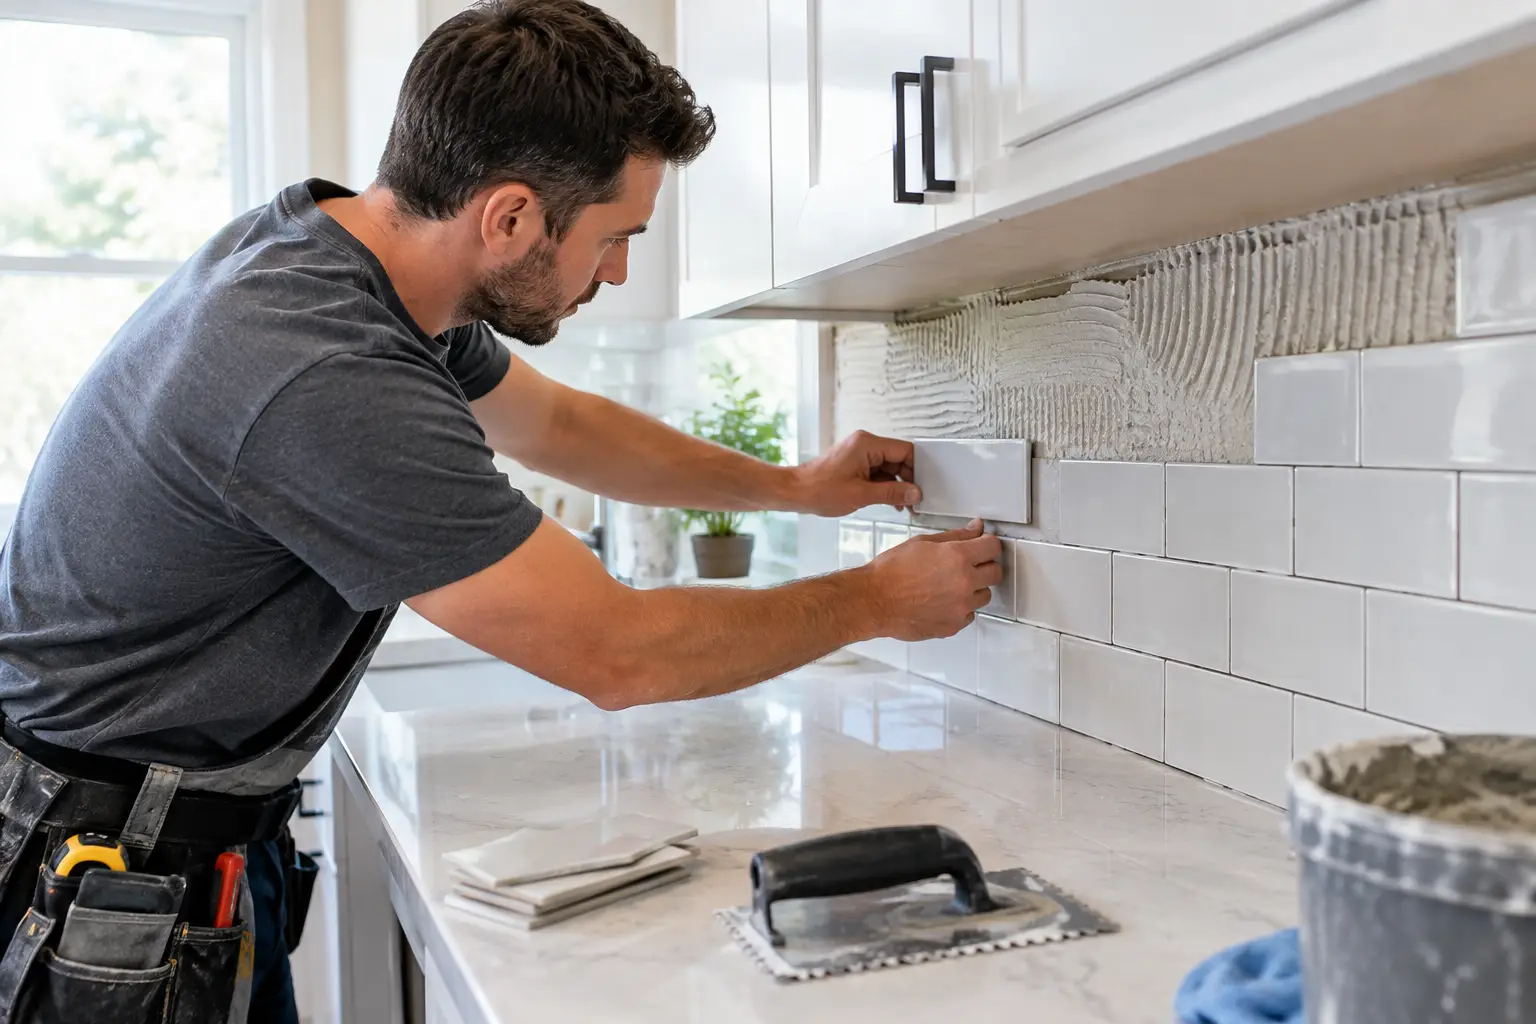
A backsplash can make an older kitchen feel finished in a weekend, but the details show quickly when the installation is rushed. Learning how to install backsplash starts with accepting that tile does not hide uneven walls, crooked outlets, or a poor layout. Good preparation is what makes crisp grout lines, straight cuts, and a surface that is easy to clean for years.
For a simple ceramic subway tile backsplash on a sound, flat wall, a confident homeowner may be able to handle the work. Natural stone, large-format tile, intricate mosaics, walls with damage, and kitchens with many outlets require more planning. In those cases, professional installation can prevent expensive material waste and a result that looks off every time you walk into the room.
Plan the Backsplash Before You Buy Tile
Start by measuring the height and width of each backsplash area, then subtract only large openings that will not receive tile. Do not subtract small outlet openings. Add 10 to 15 percent for cuts, breakage, and future repairs. Mosaic sheets and patterns with directional pieces may require a little more waste allowance.
Bring home several tiles or samples before committing. Look at them next to the countertop, cabinet finish, and wall color in both daylight and your normal kitchen lighting. White tile can read warm, cool, or gray depending on its surroundings, while glossy surfaces reflect under-cabinet lights more than matte finishes.
The layout matters as much as the material. Decide where full tiles should land before mixing mortar. Most installations begin at the countertop because it is the most visible horizontal line, but do not assume the countertop is level. Check it with a long level. If it slopes, begin from the lowest point using a level ledger line so the tile courses remain straight. The bottom gap can be covered later with flexible caulk.
Dry-lay a row of tile on the counter or floor to see how the pattern reaches the ends of the wall, cabinets, windows, and outlets. Avoid a narrow sliver of tile at one edge when a small shift in the starting point would create two balanced cuts. Centering a pattern behind the range is often worth prioritizing, especially on an open kitchen wall.
Tools and Materials for Installing a Tile Backsplash
Having the right supplies nearby keeps the setting process controlled. Thinset begins to firm up once spread, so stopping mid-wall to locate a spacer or tile saw creates problems. For most ceramic or porcelain backsplash jobs, prepare the following:
- Tile, plus 10 to 15 percent extra
- Tile spacers and a few wedges
- Premixed mastic or thinset mortar approved for the tile and wall
- A notched trowel sized for the tile
- Level, tape measure, pencil, and straightedge
- Tile cutter or wet saw, plus a drill bit for outlet and pipe cuts
- Grout, grout float, clean sponges, and microfiber cloths
- Color-matched silicone caulk and painter’s tape
- Outlet box extenders, longer device screws, and safety glasses
Mastic can be convenient for a dry, standard kitchen wall and small ceramic tile. Thinset is generally the better choice around heat, moisture, larger tile, and less-than-perfect walls, but the manufacturer instructions should guide the decision. Do not use premixed products where their label does not allow them.
Prepare the Wall, Counter, and Electrical Openings
Remove outlet and switch cover plates, then turn off the relevant breaker and verify that the power is off before loosening devices. Tile adds thickness to the wall. Electrical boxes and receptacles must sit flush with the finished tile surface or be properly extended with listed box extenders. This is a small detail with major safety implications.
Protect the countertop with rosin paper or a clean drop cloth, then mask the counter edge and cabinets. Remove grease with an appropriate cleaner, particularly behind a range. Adhesive will not bond reliably to cooking residue, dust, loose paint, or wallpaper paste.
Check the wall with a level and straightedge. Patch dents, tighten loose drywall, and scrape off raised texture. A backsplash wall does not need to be flawless, but it does need to be stable and reasonably flat. Tile follows the plane beneath it. If the wall has water damage, major bowing, crumbling drywall, or a gap around a vent hood, address those repairs before setting tile.
How to Install Backsplash Tile Step by Step
Mark a level reference line at the height of your first full row. If the countertop is level, you can often set the first row directly on it with spacers to maintain a small caulk joint. If it is not, fasten a straight temporary ledger board along the reference line and begin there. Never use grout to correct a visibly sloped first course.
Mix only as much thinset as you can use within its working time, or open a manageable amount of approved mastic. Spread adhesive over a small section, roughly two to three square feet, with the flat side of the trowel first. Then comb it with the notched side, keeping the ridges consistent and running in one direction.
Press the first tile into place with a slight sliding motion, then add spacers and continue outward. Check every few tiles with a level and step back often. The most common DIY mistake is setting too much tile before noticing that a row has begun to drift. Correcting alignment while the adhesive is fresh is simple. Correcting it the next day is not.
Do not spread adhesive all the way into corners, along the counter seam, or into outlet boxes. Leave those movement joints clear for caulk. Wipe away adhesive that squeezes into grout joints before it hardens, especially on mosaics where cleanup becomes tedious.
Make cuts as each row reaches an edge or obstruction. Measure twice, accounting for the spacer and the perimeter caulk gap. A manual snap cutter works well for many straight ceramic and porcelain cuts. Use a wet saw for harder porcelain, detailed cuts, and cleaner results. For outlet openings, mark the tile from the actual box location rather than relying on a repeated measurement. Small layout variations are common in older homes.
When a tile surrounds an outlet, keep the cut edge covered by the cover plate whenever possible. If a tiny tile strip would fall along the side of a box, rethink the row layout before proceeding. A more balanced cut usually looks better and is less likely to crack.
Allow the adhesive to cure for the period specified by its manufacturer before grouting. Dry time depends on the product, tile type, humidity, and wall conditions. A cool Bay Area kitchen can take longer to dry than expected, so do not rush this stage.
Grout, Caulk, and Finish the Details
Pack grout firmly into the joints with a rubber float held diagonally across the tile. Work in small areas, then remove excess grout according to the product instructions. Clean with a damp, not soaking-wet sponge. Too much water can weaken fresh grout, wash pigment from joints, or leave a hazy finish.
After the grout firms up, buff the tile with a dry microfiber cloth to remove haze. Some grout types need sealing after they cure, while many modern cement-based and single-component grouts do not. Read the product label instead of assuming every grout requires the same maintenance.
Use color-matched silicone caulk, not grout, at the countertop joint, inside corners, and where tile meets cabinets or trim. These areas move slightly as the house expands, contracts, and settles. Grout in a movement joint tends to crack. Apply a smooth bead, tool it promptly, and remove tape before the caulk skins over.
Reinstall outlets with box extenders and longer screws as needed, then fit the cover plates without forcing them against uneven tile. If a cover plate rocks or leaves a large gap, stop and correct the device position rather than tightening it harder.
When It Makes Sense to Call a Professional
A backsplash is a manageable project until the wall reveals a hidden problem. Consider professional help when you find damaged drywall, active moisture, multiple awkward outlet cuts, a vent hood relocation, natural stone that needs sealing, or large-format tile that demands a very flat surface. Property managers and busy homeowners may also prefer a contractor when timing matters and the kitchen needs to stay functional.
Fullhouse Remodeling & Handyman Services can handle backsplash installation as part of a kitchen update or as a focused repair and improvement project, with the same attention to wall preparation, clean cuts, and finish work. The goal is not simply to get tile on the wall. It is to leave a backsplash that looks intentional from the first tile to the final caulk line.
A well-installed backsplash should disappear into your daily routine: easy to wipe down after dinner, aligned with the room, and still solid when you look closely months later. Taking the time to prepare the wall and plan the layout is what gets you there.
