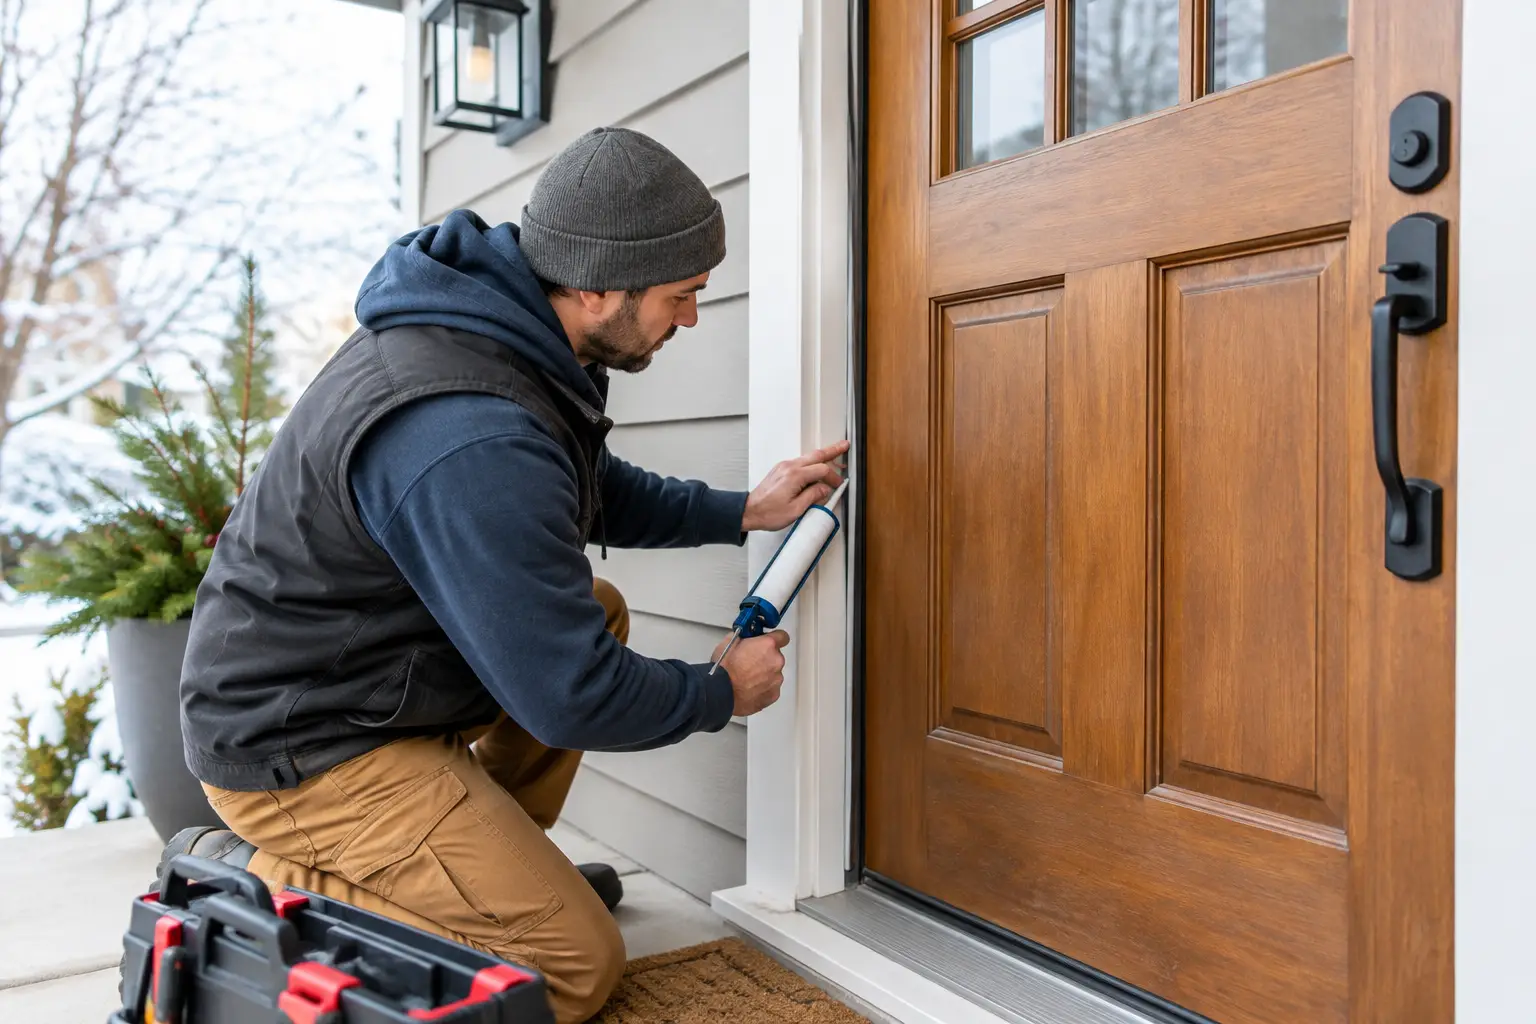
A front door can look solid and still leak enough air to make the entryway cold, raise heating costs, and let wind-driven rain reach finishes that should stay dry. Knowing how to weatherproof exterior doors starts with finding where the door is actually failing. The answer is rarely to add more caulk everywhere. A proper fix matches the material and repair to the gap, while allowing the door to open, close, latch, and drain as designed.
For Bay Area homes, weatherproofing matters well beyond the coldest weeks of the year. Coastal fog, winter rain, changing temperatures, and sun exposure can flatten weatherstripping, swell wood, loosen exterior trim, and wear out door sweeps. A focused inspection before the rainy season can prevent a small draft from becoming damaged flooring, trim, or framing.
How to Weatherproof Exterior Doors Step by Step
Start on a dry day, with the door closed and latched. Look at the perimeter from inside and outside. You are looking for daylight, loose trim, cracked sealant, flattened weatherstripping, a worn sweep, or staining around the threshold. If you can see light around the edges, feel a draft, or notice water after rain, there is a clear place to investigate.
A simple dollar-bill test is useful for the top and latch-side seal. Close the door on a bill, then pull it out. There should be noticeable resistance at several points around the frame. If the bill slides freely in one area but not another, the issue may be a worn seal, a misaligned strike plate, loose hinges, or a door that has warped over time.
Do not overlook the door’s operation. A door that drags across the threshold or needs to be forced shut will quickly damage new weatherstripping. Tightening hinge screws can sometimes correct a minor sag. On older doors, stripped screw holes, a damaged jamb, or settling may require a more durable repair before any sealing material is installed.
Seal the Sides and Top With Weatherstripping
Weatherstripping is the primary air seal between the door slab and its frame. For most exterior entry doors, adhesive-backed foam is a quick option, but it does not always last in a high-use opening or in direct sun. Higher-quality compression weatherstripping, tubular vinyl, or fitted kerf-in seals generally hold up better when installed correctly.
Remove old material fully rather than sticking new weatherstripping over a failed seal. Clean off adhesive, dust, and paint flakes so the new strip has a sound surface. Measure each section, cut it neatly, and apply it without stretching it. A stretched strip can shrink back and leave a gap at the corners.
The seal should compress slightly when the door closes, not flatten so much that the door becomes difficult to latch. Too little contact leaves drafts. Too much compression can make family members slam the door, put pressure on hinges, and shorten the life of the seal. If the gap varies from one area to another, correct the door alignment first instead of using extra-thick material to hide the problem.
Replace the Door Sweep at the Bottom
The space below an exterior door is often the largest source of air leakage. A door sweep attaches to the bottom of the door and seals against the threshold. Rubber or silicone sweeps are common choices because they flex over the threshold while blocking drafts, dust, and insects.
Open the door and inspect the existing sweep. Torn rubber, a stiff brush, loose fasteners, or a visible gap means it is time for replacement. Measure the width of the door, trim the sweep to fit if needed, and position it so it makes continuous contact without bunching or scraping excessively.
There is a trade-off here. Setting a sweep too low may stop airflow, but it can make the door hard to operate and cause premature wear. Set too high, it will not do its job. After installation, open and close the door several times, then check the seal from inside with a flashlight or your hand on a windy day.
Inspect the Threshold and Sill
The threshold is more than a metal or wood strip at your feet. It directs water away from the opening while providing a surface for the bottom seal. Check for loose screws, cracked material, standing water, soft wood, and gaps where the threshold meets the jamb.
Some adjustable thresholds have screws that raise or lower the sealing surface. Small adjustments can improve contact with the door sweep, but do not raise it so high that the door binds. If the threshold has corroded, cracked, shifted, or has water damage beneath it, replacement may be the smarter option.
Pay attention to the sill outside the door as well. Water should move away from the house, not collect against the threshold. A door can have excellent weatherstripping and still leak when exterior drainage, flashing, siding, or trim is failing. Repeated water stains or soft material around the lower corners call for a closer professional assessment.
Caulk Exterior Gaps Around the Frame
Caulk belongs around the exterior trim and frame, not in places that prevent the door system from draining. Check the joint between the trim and siding, along with visible cracks in existing sealant. Remove loose, split, or detached caulk before applying a new exterior-rated sealant.
Use a steady bead sized for the joint, then tool it smooth so water sheds away from the opening. Caulk should seal gaps, not cover rotted wood or loose trim. If the trim is soft, cracked, or pulling away, repair or replace the damaged material first. Sealing over moisture-damaged wood can trap the underlying problem and make future repairs more extensive.
Avoid caulking weep holes, threshold drainage paths, or the bottom edge of certain exterior trim details where water needs a way out. Door designs vary, which is why a blanket approach can create trouble. When in doubt, inspect the manufacturer’s details or have a qualified contractor evaluate the opening.
Check the Door, Frame, and Hardware for Bigger Problems
Weatherproofing products work best when the door itself is in good condition. Wood doors may expand during damp weather and shrink during dry periods. Fiberglass and steel doors can have damaged seals, dents, or worn finishes. Any exterior door can fall out of alignment if hinges are loose, the jamb has shifted, or the foundation and framing have moved.
Look for peeling paint, cracking at joints, rust on hardware, and dark staining around the frame. These signs may point to moisture intrusion rather than ordinary air leakage. Also check that the deadbolt and latch engage smoothly. A door that must be lifted, pushed, or pulled to lock is usually not sitting correctly in the frame.
For a minor alignment issue, hinge adjustment or a strike plate adjustment may restore a consistent seal. For significant rot, a damaged threshold, recurring leaks, or a door that no longer fits the opening, weatherstripping alone is a temporary patch. The correct repair may involve carpentry, frame repair, flashing work, or replacement of the door unit.
Maintain Weatherproofing Through the Year
A quick seasonal check keeps small issues from becoming urgent repairs. Clean leaves and debris from the entry, wipe dirt from weatherstripping, and make sure the sweep has not loosened. After heavy rain, inspect the interior corners of the door, nearby baseboards, and flooring for moisture.
Painted wood trim and doors need a sound finish to resist water. Touch up failed paint before bare wood absorbs moisture. If the door sticks only during wet weather, resist the urge to shave it down immediately. The cause may be excessive moisture, poor drainage, or a failing seal around the frame. Correcting the source is more reliable than permanently changing the door.
Busy homeowners and property managers do not need to troubleshoot every draft alone. Fullhouse Remodeling & Handyman Services can inspect exterior doors, replace worn seals and sweeps, repair damaged trim, and address the carpentry issues that keep an entry from sealing properly. A door that closes easily, seals evenly, and sheds water correctly makes the rest of the home more comfortable when the weather turns.
