A fresh exterior paint job can make a well-kept home look newer, but paint is only as durable as the surface beneath it. Knowing how to paint exterior surfaces correctly means spending more time on cleaning, repairs, and weather planning than most homeowners expect. That preparation is what prevents peeling trim, blotchy siding, and paint that fails after one wet season.
For Bay Area homes, the details matter even more. Coastal fog, sun exposure, wind-driven moisture, and shifting temperatures can affect dry time and long-term adhesion. Use the right products, fix the underlying damage first, and give every coat the time it needs to cure.
Start by Inspecting the Entire Exterior
Walk around the property before buying paint. Look closely at siding, eaves, fascia boards, window trim, doors, railings, and any areas near gutters or ground-level landscaping. Paint will not solve water intrusion, dry rot, loose boards, failing caulk, or damaged flashing. Covering those issues can make them harder and more expensive to repair later.
Pay special attention to soft wood, dark stains, cracked joints, bubbling paint, and areas where old paint has separated from the surface. On stucco, look for cracks that may allow moisture behind the finish. On wood siding, check the bottom edges and joints, where rainwater tends to sit. Metal railings and fixtures need rust removed before they are coated.
If the home was built before 1978, old paint may contain lead. Do not dry-sand, scrape aggressively, or use a heat gun until the paint has been properly evaluated. Lead-safe work practices protect your household, neighbors, and anyone working on the project.
Choose a Dry Weather Window
Exterior painting is not simply a sunny-day project. The surface needs to be dry, the forecast needs to remain stable, and temperatures must stay within the paint manufacturer’s application range. Painting on a hot wall in direct afternoon sun can cause the paint to dry too quickly, leaving lap marks or poor bonding. Painting when fog, rain, or heavy dew is expected can trap moisture in the coating.
A mild, dry day with low wind is usually best. In San Francisco and nearby coastal communities, morning fog can leave siding damp long after the sky looks clear. Check the surface itself, not just the forecast. If it feels cool or damp, wait.
Avoid painting immediately after pressure washing or rain. Wood and porous surfaces need adequate drying time. The exact time depends on the material, airflow, shade, and humidity, but rushing this step is one of the most common causes of early paint failure.
Clean, Scrape, and Repair Before Painting
Good paint needs a clean, sound surface. Start by protecting landscaping, walkways, windows, hardware, and outdoor fixtures with drop cloths and masking materials. Move furniture and stored items away from the work area.
Wash away dirt, mildew, pollen, chalky residue, and loose debris. A garden hose, scrub brush, and appropriate exterior cleaner often work well for routine buildup. Pressure washing can be useful, but it must be handled carefully. Too much pressure can gouge wood, drive water behind siding, damage stucco, or strip sound paint along with failed paint.
After the surface has dried completely, scrape loose or peeling paint. Sand rough edges so the transition between bare areas and intact paint is less visible. Then repair the substrate. Replace rotted wood, patch damaged stucco, fill small holes, and recaulk open seams around trim, windows, and doors. Use a paintable exterior-grade caulk rather than a product that stays too slick for paint to grip.
Do not paint over active mildew. Treat it with a suitable cleaner, rinse it thoroughly, and let the area dry. If mildew keeps returning, identify the moisture source or lack of ventilation instead of repeatedly covering the stain.
Match Primer and Paint to the Surface
The best coating system depends on what you are painting. Exterior acrylic latex paint is a dependable choice for many wood, fiber-cement, stucco, and previously painted surfaces because it holds color well and expands and contracts with weather changes. Trim often benefits from a higher-sheen finish that is easier to clean, while siding and stucco commonly use a flat, low-luster, or satin finish to reduce visible imperfections.
Primer is not optional when bare wood, exposed metal, raw patches, repaired areas, stains, or major color changes are involved. Bare wood needs a quality exterior primer to seal the surface and promote adhesion. Rust-prone metal needs a primer designed for metal. Stain-blocking primer is useful when tannins from wood or water stains could bleed through the finish coat.
Paint-and-primer products can perform well over sound, previously painted surfaces, but they do not replace proper priming on repairs or bare material. When in doubt, follow the coating manufacturer’s guidance for the surface and conditions.
How to Paint Exterior Walls, Siding, and Trim
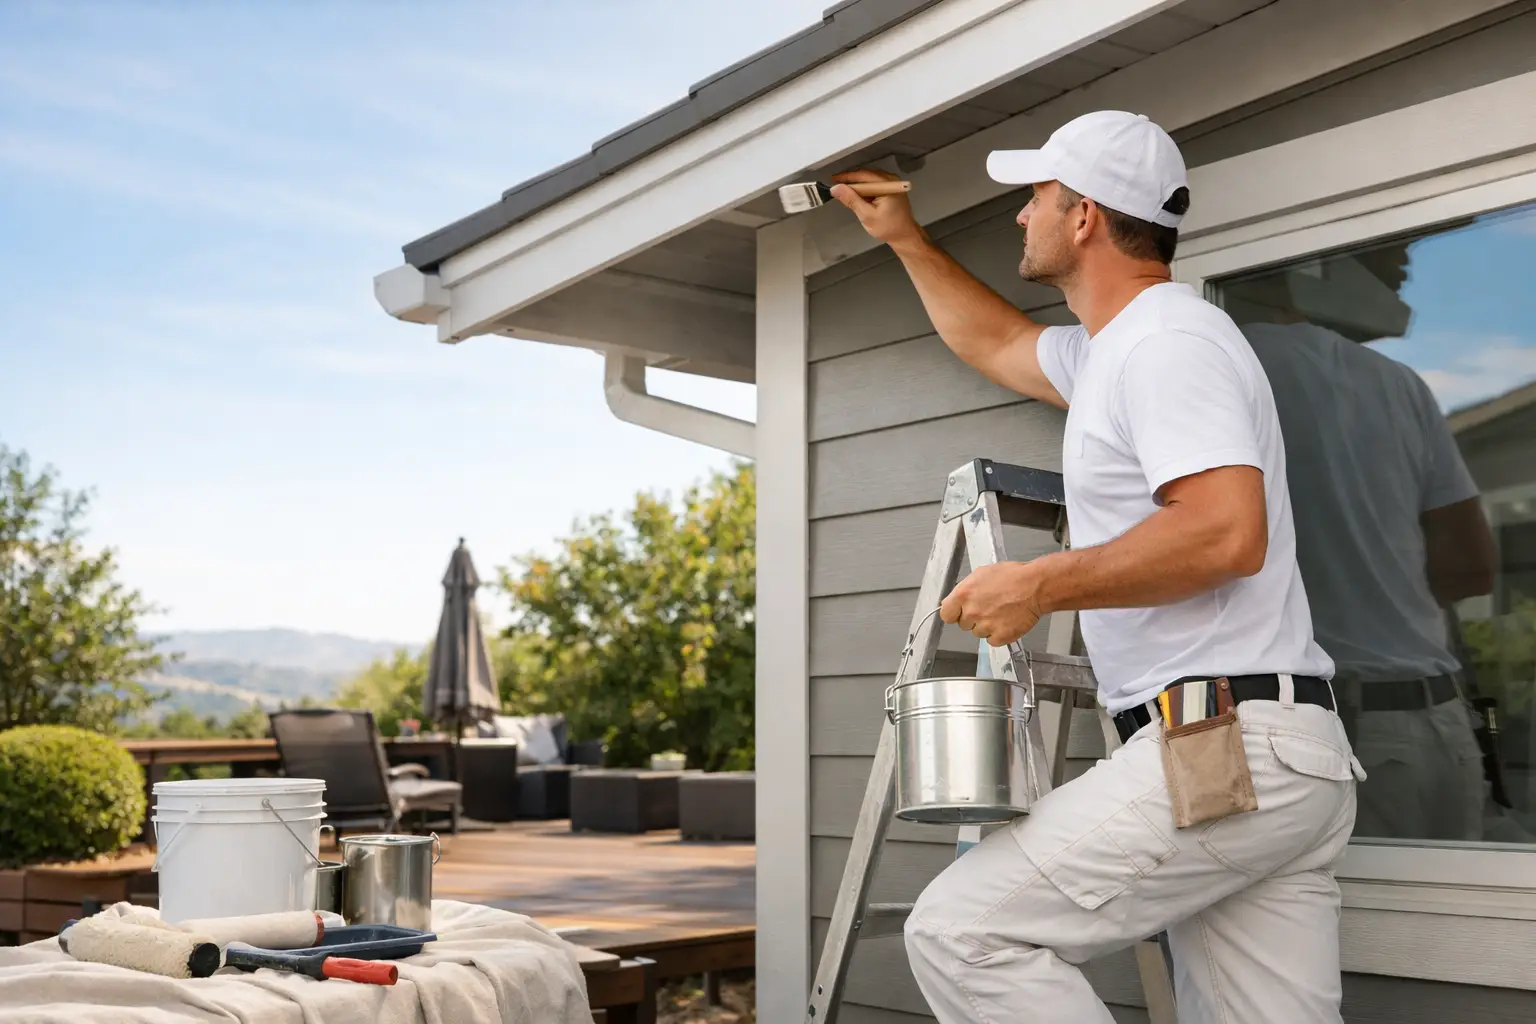
Work from the top down. Start with eaves, fascia, and upper trim, then move to walls or siding, followed by lower trim, doors, and details. This order helps you catch drips while they are still wet and prevents fresh paint from being damaged by work above it.
Cut in carefully around windows, doors, corners, and trim with a quality angled brush. Then use the right roller cover for the texture. Smooth siding calls for a shorter nap, while stucco and rough wood require a thicker nap that can reach into uneven areas. Apply paint in manageable sections and maintain a wet edge so one section blends into the next.
For lap siding, paint along the length of each board and work paint into edges and gaps without allowing it to pool. For stucco, use steady pressure and change directions as needed to fill the texture evenly. Brush back over heavy roller buildup on trim and corners. A sprayer can speed up large projects, but it requires careful masking, back-brushing or back-rolling on many surfaces, and attention to wind. It is efficient only when the preparation and control are there.
Most exterior systems need two finish coats for dependable coverage and color consistency. Allow the full recommended dry time between coats. A surface that feels dry to the touch may not be ready for another coat, especially in cool or humid conditions.
Watch the Details That Cause Callbacks
Exterior paint jobs often fail at transitions: end grain, joints, window sills, horizontal ledges, nail holes, and the bottoms of trim boards. These areas collect water or receive more sun than broad wall surfaces. Prime exposed end grain, caulk gaps appropriately, and make sure gutters and downspouts direct water away from the siding.
Also avoid sealing parts of the home that need to drain or ventilate. Weep holes, drainage gaps, and certain siding details are designed to move moisture out. Paint or caulk in the wrong place can hold water where it does not belong.
Before packing up, inspect the work from several angles and at different times of day. Look for missed spots, thin coverage, drips, flashing, and paint on glass or hardware. Catching those issues while the paint is fresh is far easier than correcting them after it cures.
When Professional Help Makes Sense
A single-story wall with sound paint may be a reasonable DIY project. The job changes when there is extensive scraping, dry rot, high ladders, stucco repair, lead-paint concerns, or large areas of siding that need replacement. Those conditions require more than a steady hand with a brush. They call for safe access, proper repair methods, and a coating plan that protects the structure.
For homeowners and property managers who need repairs and painting handled together, Fullhouse Remodeling & Handyman Services can assess the exterior condition, address damaged materials, and complete the finish work with one coordinated team. That approach reduces the risk of applying new paint over problems that should have been fixed first.
The goal is not just a cleaner color on the day the job is finished. A well-prepared exterior should keep protecting your home through sun, fog, rain, and daily wear for years to come.
