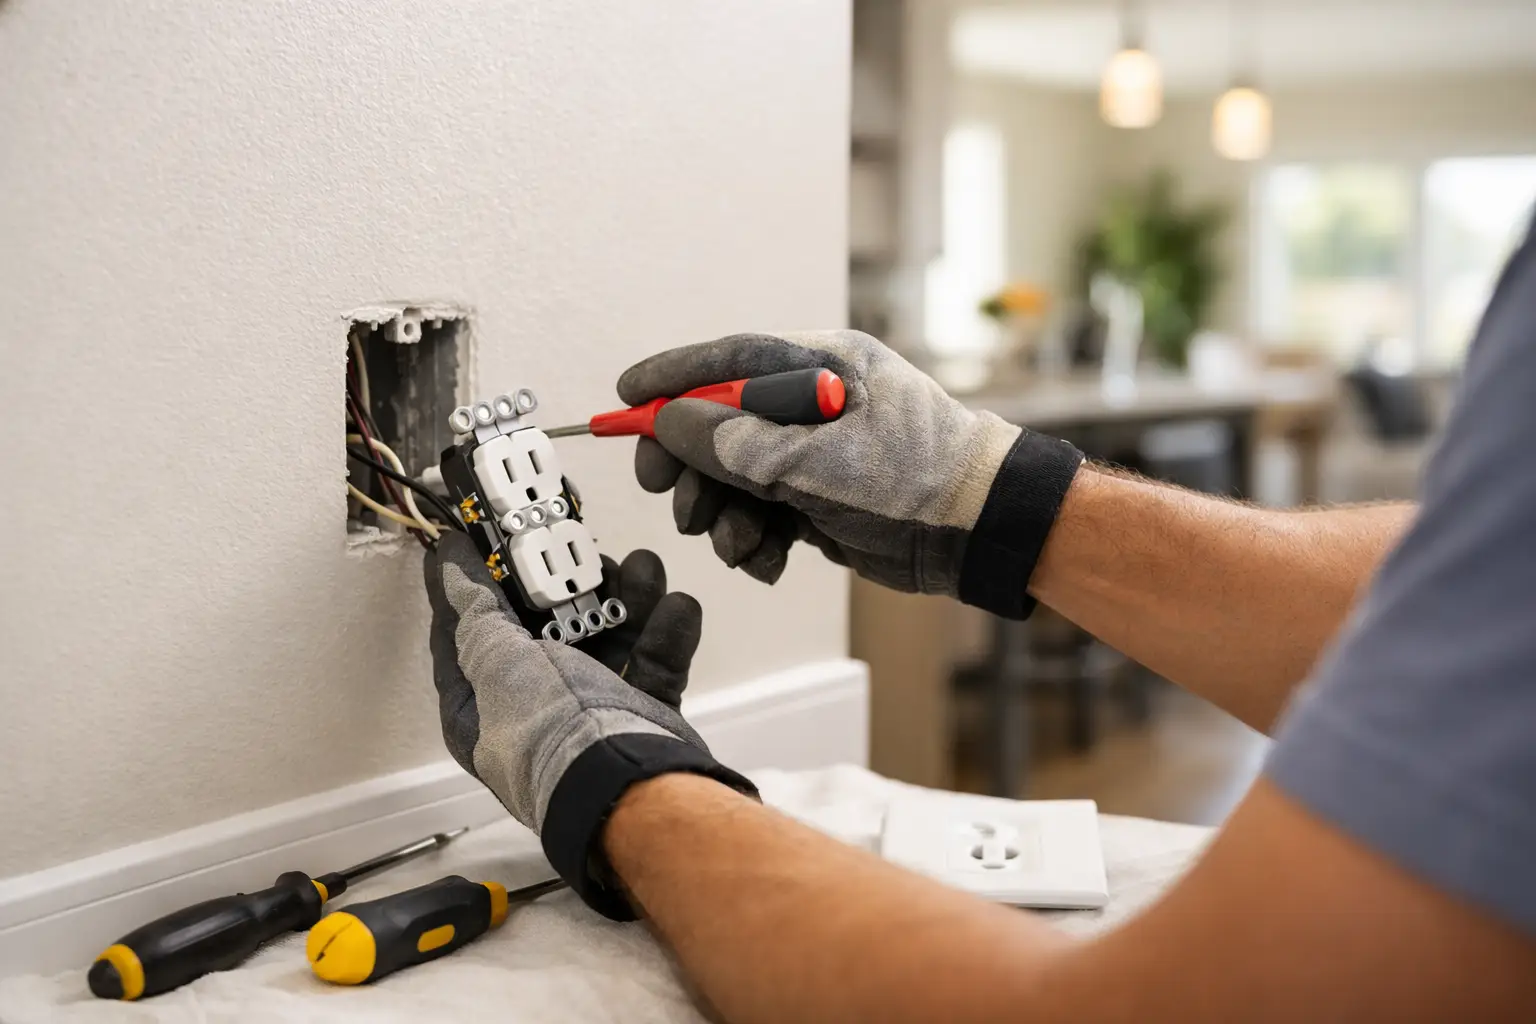
A loose, cracked, warm, or unreliable outlet is more than an everyday annoyance. It can point to worn connections, damaged wiring, or an outdated device that no longer protects your household properly. Knowing how to replace outlet receptacles can help with a straightforward swap, but electrical work only stays simple when the wiring behind the wall is in good condition.
For Bay Area homes, especially older properties with decades of renovations, the outlet box may reveal surprises once the cover plate comes off. The goal is not just to install a new receptacle that looks clean. It is to make sure the circuit is de-energized, the connections are sound, and the replacement device is appropriate for the room.
When Replacing an Outlet Makes Sense
A standard outlet replacement is often appropriate when the face is cracked, plugs fall out easily, the device is discolored, or one receptacle has stopped working while the rest of the circuit is operating normally. Upgrading old two-slot outlets, adding a tamper-resistant receptacle, or replacing a worn GFCI outlet in a bathroom, kitchen, garage, laundry area, or exterior location can also be sensible projects.
A new outlet will not solve every electrical problem. If a breaker trips repeatedly, lights flicker, multiple outlets are dead, the box is hot, or you smell burning plastic, stop using the circuit. Those signs can indicate a loose splice, overloaded circuit, damaged conductor, or another issue beyond the receptacle itself.
Gather the Right Tools and Replacement Device
Before opening the box, make sure the new device matches the old one and the circuit requirements. Most household receptacles are 15-amp devices, although some circuits and receptacles are rated for 20 amps. Do not install a 20-amp receptacle on a 15-amp circuit simply because it fits the box.
You will generally need a non-contact voltage tester, screwdriver, wire stripper, needle-nose pliers, electrical tape, a flashlight, and the correct replacement outlet and cover plate. A plug-in receptacle tester is also useful after installation, but it does not replace a voltage tester during the shutdown process.
For kitchens, bathrooms, garages, unfinished basements, laundry rooms, outdoor locations, and other areas exposed to moisture, GFCI protection is usually required. That protection may come from the outlet itself or from another GFCI device or breaker upstream. If you are unsure how the circuit is protected, do not guess.
How to Replace an Outlet Step by Step
Turn off power and verify it is off
Start at the electrical panel and switch off the breaker that controls the outlet. Labels can be inaccurate, particularly in homes that have been remodeled, so test the outlet before touching any wiring.
Use a lamp or plug-in tester to confirm the receptacle no longer works. Then use a non-contact voltage tester at the outlet slots and around the wiring after the cover is removed. Test the voltage tester on a known live source before and after checking the outlet. This confirms the tester itself is working.
Never rely on a wall switch being off. An outlet may be controlled by a switch, but parts of the box can still be energized.
Remove the old receptacle carefully
Remove the cover plate, then take out the screws holding the receptacle in the electrical box. Pull the device forward gently, without yanking the wires. Take a clear photo before disconnecting anything. That photo can save time if wire placement becomes confusing.
Look for warning signs: melted insulation, black marks, brittle wire jackets, corrosion, loose terminals, an undersized or damaged box, or wires that are too short to reconnect safely. A faint scorch mark or heat damage is not cosmetic. It needs a professional assessment before a new outlet is installed.
Identify the wires and connections
In a typical modern circuit, the black or red wire is the hot conductor, the white wire is neutral, and the bare copper or green wire is ground. Color alone is not a guarantee, especially in older homes or poorly completed past work. Verify rather than assume.
The hot wire connects to the brass-colored screw, the neutral wire connects to the silver-colored screw, and the ground wire connects to the green grounding screw. If the old outlet has two wires under one terminal, several wires crowded into the box, or unusual jumpers between terminals, slow down. The outlet may be feeding power to other devices, and the circuit should be reconnected correctly.
Avoid using push-in connections on a new receptacle when screw terminals are available. Properly tightened side-screw connections are generally more secure. If more than one wire must be joined, use an approved connector and a short pigtail to the outlet instead of forcing multiple conductors under one screw.
Install the replacement outlet
Disconnect one wire at a time and attach it to the matching terminal on the new device. Form each conductor into a clockwise hook so tightening the screw draws the wire in rather than pushing it out. Tighten terminal screws firmly according to the device manufacturer’s instructions, without over-tightening and damaging the conductor.
Wrap electrical tape around the sides of the receptacle only if needed to cover exposed terminal screws in a crowded metal box. Fold the wires carefully back into the box, keeping the ground wire positioned safely and avoiding sharp bends. The receptacle should sit straight and secure, not be forced into place by the cover plate.
Install the mounting screws, attach the cover plate, restore power at the breaker, and test the outlet. A plug-in tester can help identify common conditions such as an open ground or reversed polarity. If the outlet does not test correctly, turn the breaker back off and have the wiring checked.
Special Cases That Need Extra Care
GFCI outlets require special attention because they have line and load terminals. The line terminals bring power into the device. The load terminals can provide downstream GFCI protection to other outlets. Mixing them up can leave the new device unable to reset or cause other outlets to stop working.
Older Bay Area homes may also have ungrounded two-wire circuits, aluminum wiring, cloth-insulated wiring, or boxes with limited space. A three-prong outlet should not be installed as though a ground exists when it does not. There are code-compliant options, but they depend on the circuit and should be evaluated carefully.
If you find aluminum conductors, do not connect a standard receptacle without confirming the device and connector method are rated for aluminum wiring. Aluminum expands and contracts differently than copper, and improper connections can overheat.
When to Call a Licensed Electrical Professional
Replacing one modern, undamaged receptacle can be manageable for an experienced homeowner who can safely verify power is off and reproduce the existing correct wiring. It is better to bring in a professional when the problem involves repeated breaker trips, a burned outlet, no ground wire, multiple dead devices, a GFCI that will not reset, an overcrowded box, or any wiring that does not match a standard installation.
The same applies when you are adding an outlet, moving one, changing a circuit, or opening walls. Those jobs can involve load calculations, permits, code requirements, and electrical-panel capacity, not just a new faceplate.
Fullhouse Remodeling & Handyman Services helps homeowners, landlords, and property managers handle outlet repairs and electrical upgrades with practical troubleshooting and professional workmanship. A qualified technician can identify whether the outlet is the real problem before replacing parts that will not fix the underlying issue.
A properly working outlet should feel ordinary: plugs fit securely, the cover sits flat, the device stays cool, and the breaker remains stable. If your outlet does anything less, treat that as a reason to act early rather than wait for a small electrical repair to become a larger one.
