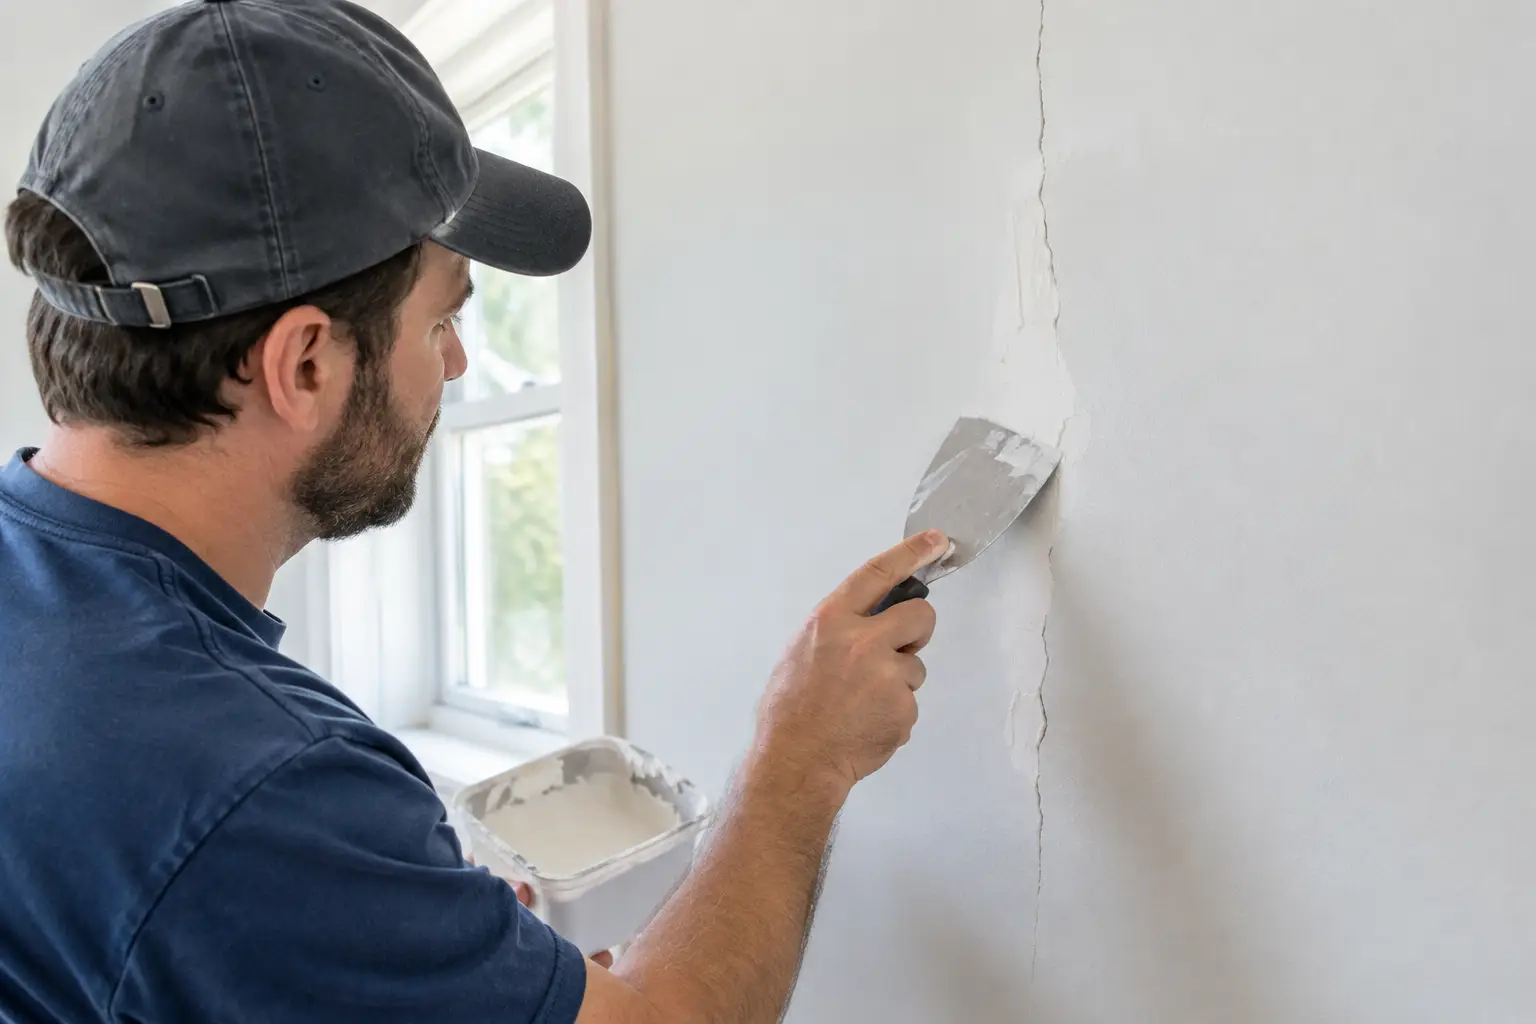
A thin line above a bedroom door may look like a simple paint problem. A crack that keeps reopening after you patch it is different. Can drywall cracks be repaired? In most cases, yes. The lasting repair depends on finding out whether the wall is dealing with ordinary settling, a weak drywall seam, moisture, or ongoing movement behind the surface.
For Bay Area homeowners, that distinction matters. Older homes, temperature changes, hillside conditions, renovations, and normal building movement can all leave their mark on drywall. A professional repair should make the wall look finished again while addressing the reason the crack appeared in the first place.
Can Drywall Cracks Be Repaired Permanently?
Many drywall cracks can be repaired to the point that they are no longer visible and do not return. But “permanent” depends on the wall staying stable. If a home continues to move, a repair made with only lightweight spackle can crack again along the same line.
Hairline cracks from routine settling are usually straightforward. A technician opens the crack slightly, removes loose material, reinforces the area with drywall tape where needed, applies joint compound in thin coats, sands it smooth, primes, and repaints. The result blends into the surrounding wall rather than looking like a raised patch.
Cracks at drywall joints need more than filler. The joint tape may have loosened, often because the original installation did not have enough compound beneath it or the framing shifted slightly. In that case, loose tape should be removed or secured, new tape embedded correctly, and the joint feathered wide enough that the repair disappears after painting.
A repair cannot solve active structural movement by itself. If framing is shifting, a foundation issue is present, or water is affecting materials behind the drywall, covering the crack only delays the real work. The right approach is to identify and correct that condition before completing the finish repair.
What the Crack Pattern Can Tell You
The shape, location, and behavior of a crack offer useful clues. They are not a complete diagnosis, but they help determine whether a quick drywall repair makes sense or whether the area needs closer inspection.
A narrow vertical or horizontal crack on a broad wall is commonly caused by seasonal expansion, settling, or a drywall seam. These are often cosmetic, especially when they are thin and have not changed over time. Cracks near doors and windows are also common because those openings create natural stress points in the wall.
Diagonal cracks running from the corner of a door or window deserve more attention. They may still be related to normal movement, but wider diagonal cracks, cracks that grow, or several cracks appearing in one area can point to framing movement or settlement. The same is true when a crack is accompanied by doors that stick, gaps around trim, sloping floors, or separation between walls and ceilings.
Ceiling cracks can be caused by truss uplift, settling, or loose drywall fasteners. A straight crack where the ceiling meets a wall may be a seasonal movement issue. A sagging ceiling, a soft spot, discoloration, or peeling paint suggests a moisture problem and should be addressed promptly.
Check for Moisture Before Repairing Drywall
Water changes the repair plan. A crack near a bathroom, kitchen, window, roofline, or exterior wall may be related to a leak rather than normal movement. Patching wet or water-damaged drywall can trap the underlying problem and lead to staining, mold growth, or a failed repair.
Look for brown rings, bubbling paint, a musty smell, softened drywall, or visible swelling around the crack. If those signs are present, the moisture source needs to be stopped and the affected materials need time to dry. Damaged drywall may need to be cut out and replaced rather than skimmed over.
This is one reason a careful inspection saves time. A clean-looking patch is not a quality repair if the drywall behind it is weakened or still getting wet.
How a Professional Drywall Crack Repair Holds Up
The quality of the preparation matters more than the first coat of compound. A durable repair starts by making sure the drywall is secure to the framing. If panels have loosened, additional drywall screws may be installed carefully before the crack is finished.
The crack is then opened enough to remove fragile edges and provide a sound surface for compound. For seams and recurring cracks, paper tape or fiberglass mesh tape reinforces the repair. Paper tape generally creates a stronger, flatter finish when installed correctly, while mesh tape can be useful in certain repairs when paired with the appropriate setting compound.
Joint compound is applied in multiple thin layers, extending farther out with each coat. This feathering is what prevents a visible hump once light hits the wall. After drying and sanding, the repaired area is primed before painting. Primer helps the new compound absorb paint evenly, avoiding dull spots known as flashing.
Color matching also affects the final result. Even with the same paint color, walls can fade or change over time. In some cases, painting the entire wall from corner to corner provides a cleaner finish than touching up only the repaired section.
When a DIY Patch Is Reasonable
A homeowner can often handle a single, stable hairline crack in an accessible area. The work requires patience more than specialized equipment. Rushing between coats or applying compound too heavily is the usual reason a small patch ends up noticeable.
DIY is less suitable when the crack is wide, long, recurring, located high on a ceiling, or connected to loose tape. It is also better to call a professional when the wall shows water damage or when you are unsure whether the issue is cosmetic. A poor repair can create more sanding dust, more repainting, and more disruption than the original crack.
If you decide to patch a small crack yourself, avoid simply pressing filler into the line and painting immediately. Clean out loose material first, use a flexible compound appropriate for the repair, allow each coat to dry fully, and sand lightly between coats. For a seam crack, reinforcement tape is usually worth the extra step.
Signs You Should Not Ignore
Most cracks are repairable, but a few warning signs call for a broader evaluation before drywall work begins:
- Cracks wider than about 1/8 inch, especially if they continue to widen
- Multiple diagonal cracks around doors, windows, or across several rooms
- Cracks paired with sticking doors, uneven floors, or trim pulling away from walls
- Stains, soft drywall, bubbling paint, or a suspected plumbing or roof leak
- A sagging ceiling or drywall that feels loose when gently pressed
These signs do not automatically mean a major structural problem. They do mean the repair should be based on more than appearance. Once the underlying condition is understood, the drywall can be repaired with confidence instead of becoming a repeat project.
Get the Right Repair for the Wall You Have
A small crack may need only a careful finish repair. A failed seam may need reinforcement and repainting. Water-damaged drywall may require removal, drying, and replacement before the final coats go on. The best solution is the one that matches the condition behind the wall, not just the line visible on its surface.
Fullhouse Remodeling & Handyman Services helps homeowners and property managers handle drywall repairs with the same practical approach used for larger home projects: inspect the cause, explain the scope clearly, and complete the work with a clean, paint-ready finish. When a crack is new, changing, or simply too visible to ignore, a timely assessment can keep a small wall repair from turning into a larger interruption.
