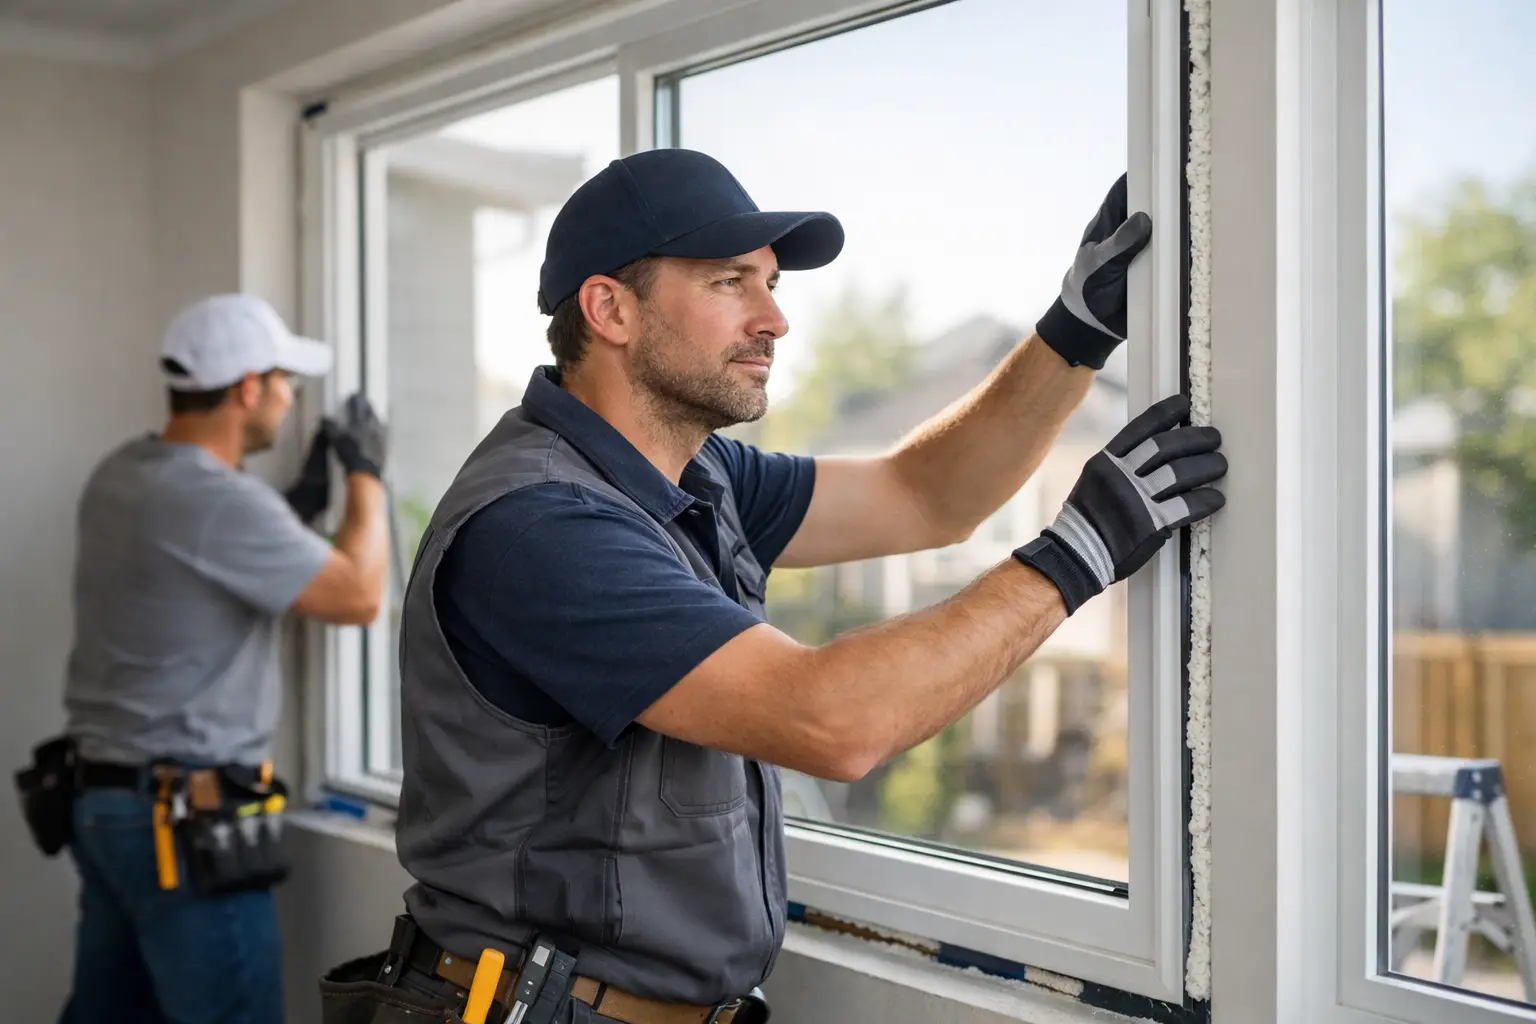
A new window can look finished the moment the trim goes on, yet the workmanship that matters most is often hidden behind it. A rushed installation may not show its problems until the first hard rain, windy night, or spike in utility use. This window installation review explains what homeowners, landlords, and property managers should inspect before signing off on the job.
The goal is not to second-guess every step of a professional installer’s work. It is to recognize the visible signs of a properly installed window, ask smart questions about the parts you cannot see, and address concerns while the project is still active. That approach protects your comfort, your walls, and your investment.
A Window Installation Review Starts Before the Work
A reliable window project begins with a clear assessment of the opening, the condition of the surrounding wall, and the right window for the space. Replacement windows are not all installed the same way. A simple insert replacement may be appropriate when the existing frame is sound and square. A full-frame replacement is often the better choice when there is rot, water damage, an out-of-square opening, or a need to correct old flashing problems.
This distinction affects both the scope of work and what should be reviewed at the end. If an installer is only replacing the window unit, much of the original frame remains in place. If the old frame is removed, the contractor should be able to inspect the rough opening, repair damaged wood if needed, and rebuild the water-management details around the new unit.
Before work begins, make sure everyone agrees on the window style, operating direction, glass options, interior trim, exterior finish, and who is responsible for paint or touch-up work. Homeowners often assume those details are included because they seem obvious. A clear written scope avoids disappointment after the window is in place.
What to Look for During the Final Walkthrough
The best time for a final inspection is in daylight, with the work area clean and the installer available to answer questions. Start inside, then inspect the exterior. Do not focus only on the glass. The frame, trim, caulking, operation, and surrounding wall condition all tell part of the story.
The window should open, close, and lock without force
Open the sash several times. It should move smoothly and stay in the expected position. A double-hung window should not slide down on its own. A casement window should crank without binding, and the handle should fold or sit correctly when closed. Locks should engage easily without pulling the sash into place by force.
A little adjustment may be normal after installation, especially in an older Bay Area home where openings are rarely perfectly square. But a window that sticks, rattles, rubs hard against the frame, or refuses to lock needs attention. These are not merely convenience issues. They can indicate poor shimming, frame distortion, or an alignment problem that affects weather resistance.
Gaps should be sealed, but drainage paths must remain open
Look around the interior perimeter of the frame. The joint where the window meets the wall should look consistent, with clean trim or neatly applied sealant where appropriate. Outside, caulk should be continuous where the manufacturer and installation method call for it, without large voids, sloppy smears, or cracked sections.
More caulk is not always better. Exterior window systems need a path for incidental moisture to drain outward. Weep holes and designed drainage channels should not be blocked by sealant, paint, debris, or trim. Sealing the wrong area can trap water instead of stopping it.
The unit should sit straight in the opening
Stand back several feet and look at the reveal around the window. The spacing between the sash and frame should appear even, and the window should not look visibly tilted. Inside, check the relationship between the frame and nearby walls, trim, and sill. Outside, inspect the alignment with adjacent windows if the project involved more than one opening.
A perfectly level window is ideal, but older homes can have settled walls and uneven finishes. What matters is that the installer has set the unit to operate correctly, secured it properly, and finished the transitions cleanly rather than hiding a major alignment issue with oversized trim or excessive caulk.
The sill and exterior details should direct water away
Water management is the part of window replacement that deserves the closest attention. Rain should shed away from the opening, not find a route behind siding, stucco, or trim. Depending on the wall type and scope, this may involve flashing tape, a sill pan, properly integrated building paper or weather-resistive barrier, head flashing, and carefully installed exterior trim.
Not every layer is visible after completion, so ask what was found and what was installed. A qualified contractor should be able to explain how the opening was prepared and how water is directed outward. If there was evidence of dry rot, staining, soft wood, or prior leaks, confirm that the damaged material was addressed rather than covered.
The finish work should look intentional
Small touch-ups are common, particularly when matching existing paint, stain, texture, or older trim profiles. Still, the completed area should look like part of the home, not like a temporary patch. Interior casing should sit tight to the wall and frame. Exterior trim should have clean joints. Screens should fit securely, and any removed blinds, alarms, or hardware should be reinstalled or clearly identified as outside the agreed scope.
Also check for damaged drywall, scratched flooring, chipped paint, broken siding, or debris left around the work area. Professional installation includes protecting the home while the work is underway and leaving the site orderly afterward.
How to Read Window Installation Reviews Wisely
Online reviews are useful, but they should be read for patterns, not just star ratings. A detailed review that mentions communication, punctuality, jobsite protection, workmanship, and follow-up says more than a short comment with no project details. Look for feedback from customers whose homes or project types resemble yours.
Pay particular attention to how a company handles a problem. Even well-planned projects can uncover hidden rot, damaged framing, or product issues after work begins. The key question is whether the contractor explained the issue clearly, documented the recommended repair, and completed the correction professionally. A low bid that ignores underlying damage can become far more expensive when leaks return later.
Be cautious with reviews that promise every project was effortless or claim all work can be completed immediately without an inspection. Window replacement involves measurements, product lead times, access considerations, wall conditions, and sometimes permit requirements. A dependable provider gives a realistic schedule and communicates changes early.
Questions Worth Asking Before You Approve the Work
You do not need construction experience to ask direct questions. Ask whether the opening showed signs of moisture damage, whether any framing or trim was repaired, and how the exterior was flashed and sealed. Confirm that the windows are secured as specified and that drainage features remain clear.
Ask for guidance on operation, cleaning, screen removal, and warranty care. This is especially valuable for windows with tilt-in sashes, casement hardware, or specialty glass. Keep product information, warranty documents, and final paperwork in a home maintenance file. If you manage rental or commercial property, record the unit location and installation date as well.
If an issue is visible, document it with photos and discuss it before final approval. Most concerns are easier to correct while the crew, tools, and materials are still on site. Waiting through a rainy season can turn a minor finish concern into a repair involving drywall, insulation, trim, or siding.
When a Small Concern Signals a Larger Problem
Not every imperfection means the installation has failed. A narrow paint touch-up, a minor caulk correction, or a screen that needs adjustment can be handled quickly. However, water stains, soft wall material, fogging between glass panes, persistent drafts, major difficulty operating the sash, or loose exterior trim deserve prompt attention.
Do not assume condensation always means a bad window. Interior condensation can result from high indoor humidity, limited ventilation, and temperature differences. Condensation between panes, on the other hand, often points to a failed insulated-glass seal. A qualified professional can help distinguish normal conditions from an installation or product issue.
For Bay Area homes with older siding, stucco, or signs of dry rot, window work should be approached as part of the wall system, not as a glass-and-frame swap. That is where a provider with both handyman responsiveness and licensed contractor capability can make a meaningful difference. Fullhouse Remodeling & Handyman Services can assess the surrounding condition, complete related repairs when needed, and keep the project moving without forcing you to coordinate several trades.
Before you make the final payment or close out the work order, take ten quiet minutes to operate every window, inspect the interior and exterior finish, and ask about anything that does not look right. A careful final walkthrough is one of the simplest ways to make sure your new windows deliver the comfort, protection, and clean appearance you hired someone to provide.
