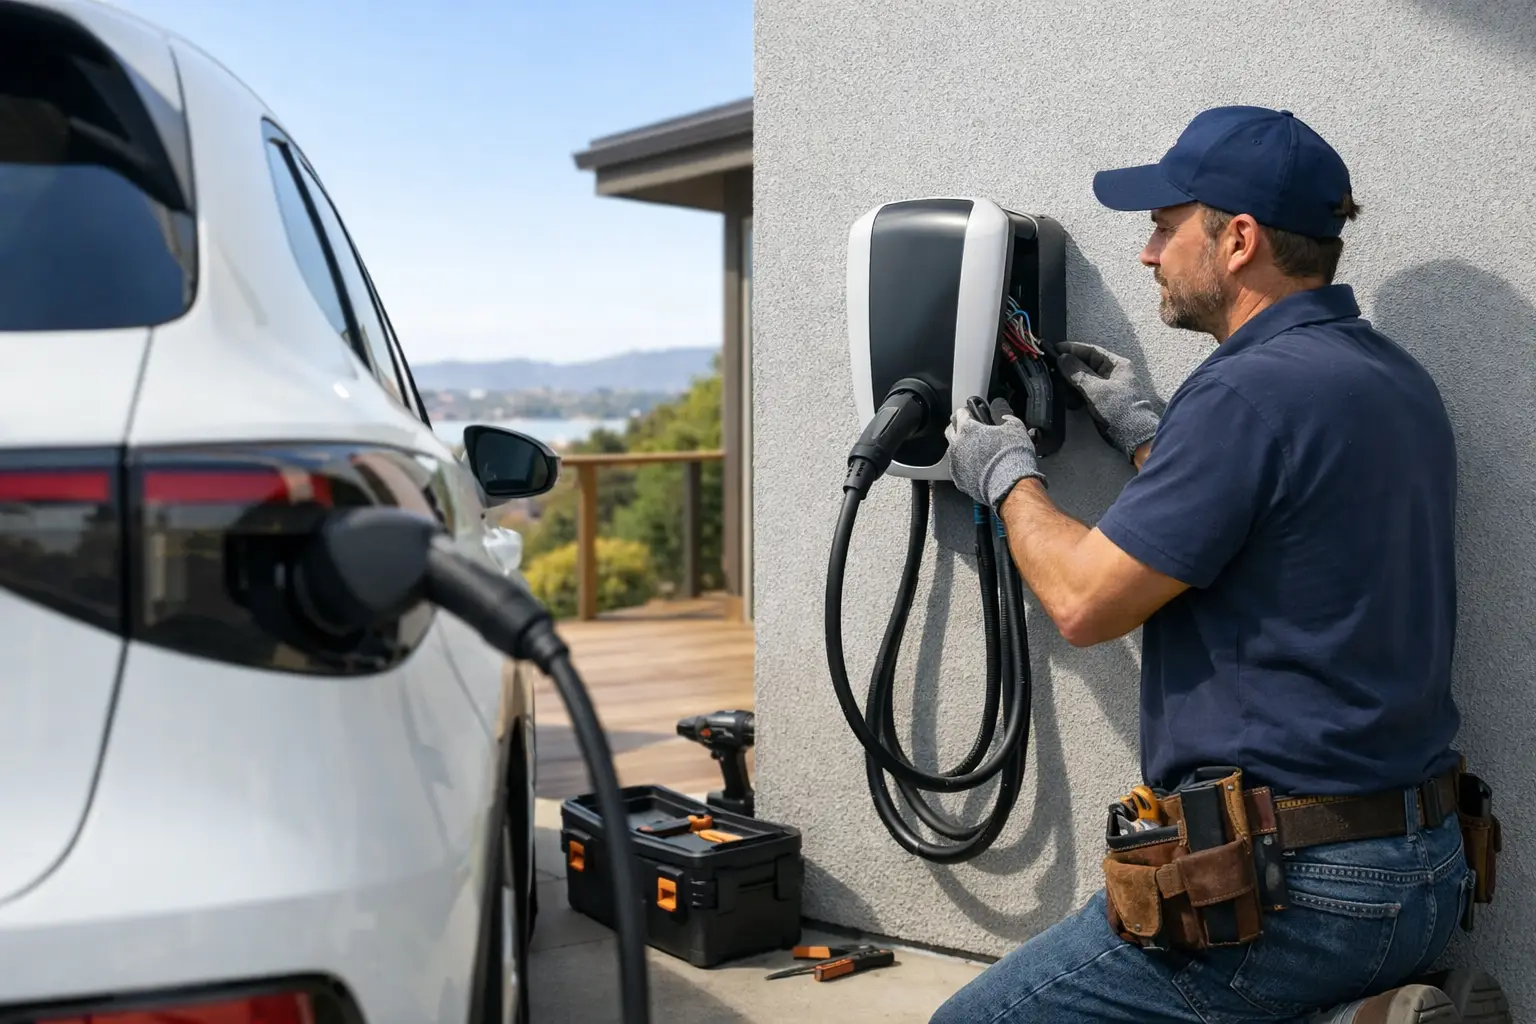
Pulling into your driveway with a low battery should not mean searching for a public charging station before work. A properly planned home charging setup gives you a dependable place to charge overnight, but this EV charger installation guide starts with a key reality: the wall unit is only one part of the job. Your electrical panel, circuit capacity, parking layout, permit requirements, and equipment choice all need to work together.
For most homeowners, a professionally installed Level 2 charger is the practical answer. It can replenish far more range than a standard household outlet and makes daily ownership easier. Still, the right installation depends on the home, the vehicle, and how you actually use it.
EV Charger Installation Guide: Start With Your Charging Needs
Before choosing equipment, think about when and where the vehicle will charge. A driver with a short commute and plenty of overnight parking may not need the highest available charging output. A household with two electric vehicles, frequent long drives, or limited charging windows may benefit from a more capable setup or a plan that allows for future expansion.
Level 1 charging uses a standard 120-volt outlet. It is slow, but it can be adequate for some plug-in hybrid owners or drivers who add only a modest number of miles each day. Level 2 charging uses a 240-volt circuit, similar to the circuit used for larger appliances. It is the usual choice for a permanent home EV charging installation because it delivers substantially faster charging overnight.
The charger’s output should match both the vehicle and the electrical system. Installing a higher-rated unit does not automatically make every vehicle charge faster. Each vehicle has its own maximum AC charging capability, and the circuit must be sized correctly for the equipment. Choosing based on the biggest number on the box can lead to unnecessary electrical work without a meaningful day-to-day benefit.
Check the Electrical Panel Before Buying Equipment
The electrical panel is the first technical question in any installation. A licensed electrical professional should assess the panel’s capacity, existing loads, available breaker space, and the condition of the service equipment. This is not just a matter of finding an empty slot for a new breaker.
An EV charger is generally treated as a continuous electrical load because it may operate for several hours at a time. The circuit, breaker, wiring, and connection method must be selected accordingly. A proper load calculation considers major household equipment such as HVAC systems, electric water heaters, ranges, dryers, pool equipment, and other fixed loads.
Some homes have sufficient capacity for a new dedicated EV circuit with no major changes. Others may need a subpanel, panel upgrade, service upgrade, or load management equipment. Older Bay Area homes can present additional issues, including undersized services, outdated panel components, limited access for new wiring, or electrical systems that have been altered over decades.
Load management can be a useful option in the right situation. These systems monitor or control charging so the EV does not push the home beyond its available capacity during periods of high electrical demand. It may reduce the need for a larger upgrade, though it is not the best answer for every property. The right choice comes from a site-specific assessment, not assumptions based on the home’s age or square footage.
Choose the Right Location and Connection Type
A charger should be convenient enough that you will use it every day. For a garage installation, that often means placing the unit near the vehicle’s charge port while keeping the cable from crossing a walkway or creating a trip hazard. For a driveway or carport, the equipment must be rated for outdoor use and protected from physical damage, weather, and accidental vehicle contact.
Cable reach matters more than many homeowners expect. Measure from the planned charger location to the vehicle’s charging port, allowing for normal parking variations. Avoid relying on extension cords or improvised cable routing. The charging cable should be able to reach the vehicle without stretching across doors, sidewalks, or areas where it can be pinched.
You will also choose between a hardwired unit and a plug-in unit connected to a properly installed receptacle. Hardwired equipment can be a clean, durable solution and may support higher charging outputs, depending on the equipment and electrical design. A plug-in unit may be easier to replace or take with you later, but the receptacle, circuit, and plug configuration still need to be correctly matched and professionally installed.
For multi-unit properties, offices, and rental homes, the planning conversation is broader. You may need to consider access control, billing, assigned parking, electrical capacity for multiple users, and future additions. Installing conduit or planning panel space now can prevent expensive disruption when more chargers are needed later.
Permits and Inspections Protect the Installation
Homeowners sometimes view permits as a delay, especially when they want charging in place quickly. In reality, permits and inspections help verify that the circuit, disconnecting means, grounding, wire sizing, equipment location, and overcurrent protection meet applicable code requirements.
Permit requirements can vary by jurisdiction. In many Bay Area communities, a new 240-volt EV charging circuit requires an electrical permit and final inspection. Your installer should identify the applicable requirements, complete the work to code, and coordinate the inspection process when required.
Skipping this step can create problems later. An unpermitted electrical alteration may complicate a home sale, insurance claim, rental turnover, or future electrical upgrade. More importantly, EV charging places sustained demand on the electrical system. This is not a project where shortcuts behind a finished wall are worth the risk.
What a Professional Installation Should Include
A dependable EV charger installation is more than mounting a unit and turning it on. The installer should first confirm the electrical plan, assess the route for wiring, and identify any access issues in the garage, attic, crawlspace, or exterior walls. They should also review the equipment specifications before selecting the breaker, conductors, and protective components.
On installation day, the work may include adding a dedicated circuit, running properly rated wiring in approved raceways or concealed paths, mounting the charger securely, making the required electrical connections, and labeling the new circuit at the panel. Outdoor installations may also require weatherproof fittings, suitable enclosures, and protection from impact.
Afterward, the unit should be tested with the vehicle or according to the manufacturer’s procedure. The installer should confirm that the charger powers on, initiates a charge properly, and does not create error conditions. If the unit uses Wi-Fi, scheduling, access control, or utility rate features, take time to set those up before the installer leaves. Smart features are useful only if they are configured around your real routine.
Common Mistakes to Avoid
The most common mistake is treating EV charging like a simple appliance purchase. The equipment may look straightforward, but the home’s electrical infrastructure determines whether it can be installed safely. Avoid selecting a charger before confirming panel capacity and circuit requirements.
Another problem is installing the unit in a location that works only for the current vehicle. If a future vehicle has its charge port on the opposite side, a short cable can become frustrating fast. A centrally placed unit or a longer approved cable may offer more flexibility, provided the cable can still be stored safely.
Do not use an existing dryer outlet, range outlet, extension cord, or adapter as a permanent workaround unless a qualified professional has designed and approved the setup. Those circuits may not be suitable for continuous EV charging, may be needed for another appliance, or may lack the right receptacle, wiring, and protection.
Finally, do not ignore the condition of the panel. Signs such as frequent breaker trips, heat at the panel, corrosion, damaged components, or an overloaded electrical system should be addressed before adding a major new load.
Make Charging Work for Your Household
Once the charger is installed, set a routine that suits your electrical rates and driving habits. Many EVs and charging units let you schedule charging for off-peak hours. This can reduce strain during busy household periods and may help lower charging costs where time-of-use utility rates apply.
Keep the charging connector clean and stored off the ground, inspect the cable occasionally for wear, and have electrical issues evaluated promptly. If you renovate the garage, add another EV, install solar or battery storage, or replace major electric appliances, revisit your electrical capacity plan.
A home charger should make ownership easier every morning, not add another maintenance concern. Careful planning, code-compliant electrical work, and a location built around how you park will give you a charging setup that is ready for the miles ahead.
