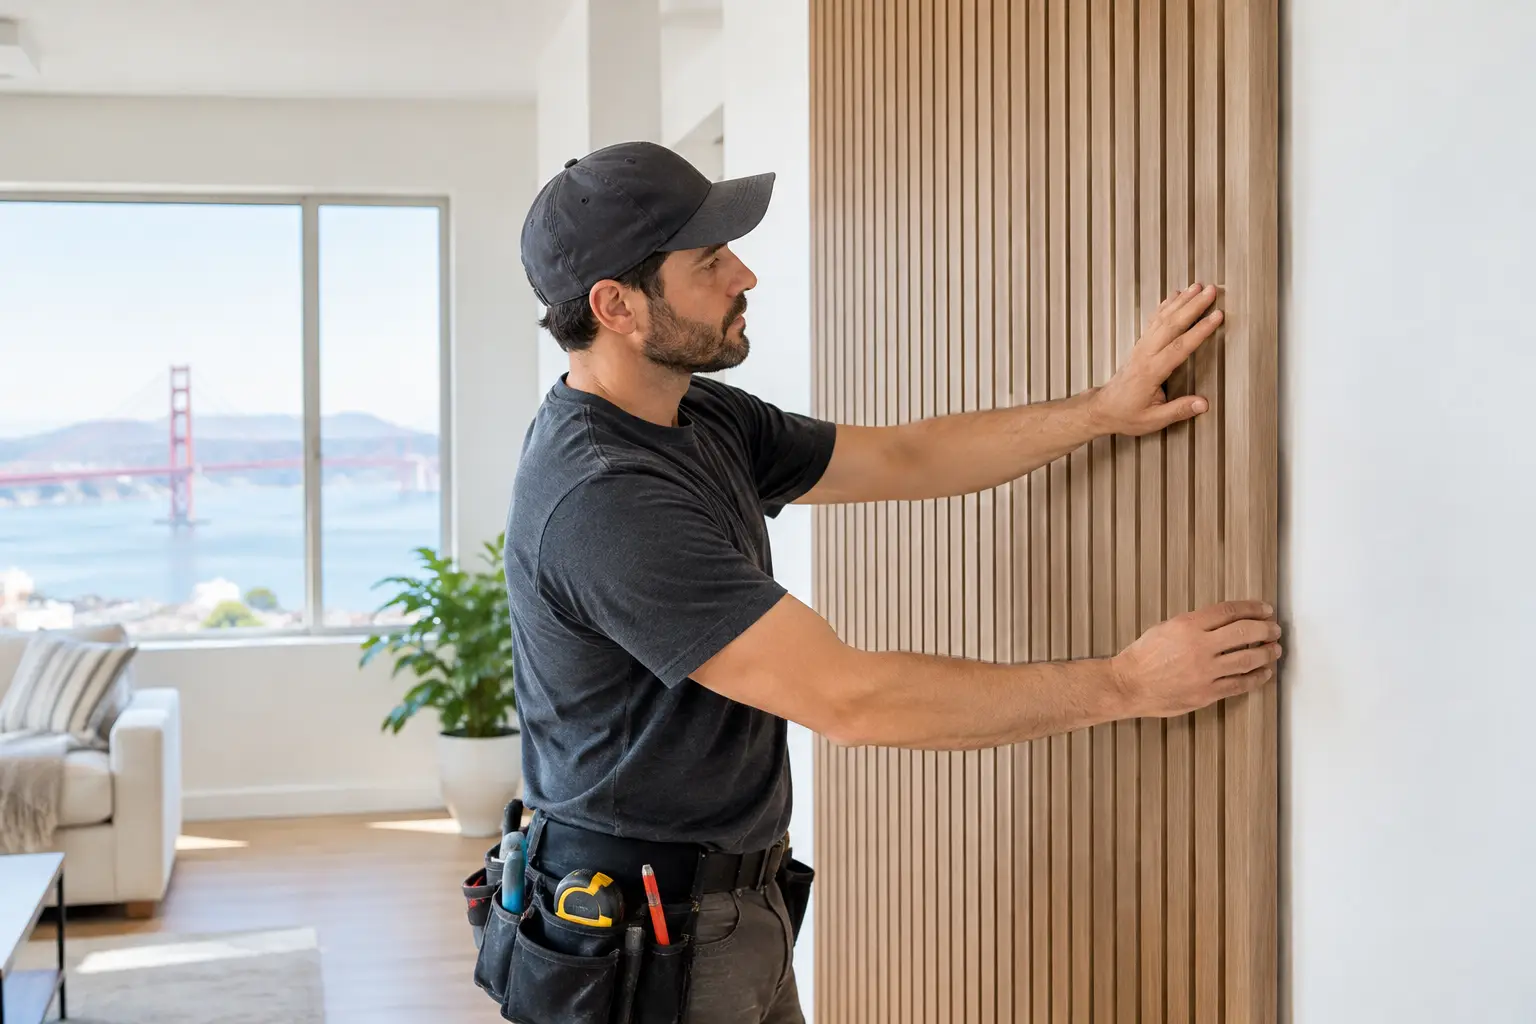
A good wall panel project can change a room before the furniture moves back in. It can add warmth to a plain living room, protect a busy hallway, give an office a more finished look, or bring character to a remodeled bedroom. But San Francisco wall panel installation is rarely as simple as fastening panels to drywall. Older plaster walls, uneven surfaces, damp areas, electrical boxes, and tight room dimensions all affect the finished result.
The difference between panels that look custom and panels that look improvised usually comes down to planning, wall preparation, and precise installation. Here is what property owners should consider before work begins.
What Wall Panels Can Do for Your Space
Wall paneling is not one single product or style. The right option depends on how the room is used, the condition of the walls, the amount of maintenance you want, and the overall look of the property.
Decorative slat panels add texture and visual height, especially on a feature wall behind a bed, television, or reception desk. Board-and-batten and picture-frame molding create a traditional architectural detail that works well in dining rooms, hallways, and entryways. Beadboard and wainscoting can protect lower wall areas in high-traffic spaces, while smooth wood veneer or laminate panels can create a clean, modern finish.
For rental properties, offices, and family homes, durability matters as much as appearance. A beautiful material that scratches easily may not be the best choice near a staircase, in a hallway, or behind seating where it will see daily contact. In bathrooms, laundry areas, and other moisture-prone locations, panel material and wall protection need extra attention.
Start With the Wall, Not the Panel
Walls in Bay Area properties often have history. Plaster and lath construction, patched drywall, previous water damage, bowed studs, and layers of old paint can all affect how panels sit on the surface. Installing over these issues without correcting them can create gaps, visible seams, loose sections, or a wavy finish.
A professional assessment should identify whether the wall is flat, dry, structurally sound, and able to hold the selected panel system. Small imperfections may be corrected with patching and sanding. More significant unevenness may require shimming, furring strips, drywall repair, or selective replacement before the paneling is installed.
Moisture Must Be Addressed First
Panels can hide a wall problem for a while, but they cannot solve it. If there are stains, soft drywall, musty odors, peeling paint, or signs of past leaks, the source should be investigated before any new finish goes up.
This is especially relevant on exterior-facing walls, below windows, around plumbing, and in bathrooms. Wood-based materials can swell or warp when exposed to moisture. Even moisture-resistant panels need a dry, stable substrate to perform as intended. Fixing the underlying issue first protects the investment and helps prevent repeat repairs later.
Electrical and Wall Openings Need a Clean Plan
Outlets, switches, cable connections, thermostats, and light controls all need to remain accessible. Panel thickness can change the depth of outlet boxes and cover plates, so these details should be planned before installation begins.
This is also the time to decide whether a television mount, floating shelf, sconce, or artwork will be attached to the finished wall. Blocking or proper anchoring behind the panel system may be needed for heavier items. Planning these locations early avoids cutting into a completed feature wall later.
Choosing a Panel Material That Fits the Room
The best wall panel material is a practical decision, not just a design decision. Real wood brings natural grain and a high-end feel, but it can expand and contract with changes in humidity. It also typically needs careful finishing and ongoing maintenance. Engineered wood and MDF products provide a smooth painted surface and consistent profiles, making them popular for wainscoting and trim-style designs.
Veneer and laminate panels can offer a refined wood appearance with a more controlled finish. PVC and other moisture-resistant options are often better suited for utility spaces or areas exposed to humidity. Acoustic panels can help reduce echo in home offices, media rooms, conference spaces, and open-plan commercial interiors.
Before selecting a product, consider these practical questions: Will the wall receive direct sunlight? Is the space exposed to steam or moisture? Does the panel need to tolerate pets, children, carts, or frequent cleaning? Will it be painted now or later? The answers help narrow down materials that will continue to look good after installation day.
The Details That Make Installation Look Professional
Straight lines are not guaranteed just because a panel is cut straight. Floors can slope, ceilings can vary, and corners are often out of square. A quality installation starts with layout lines that account for the room rather than blindly following an imperfect ceiling or floor.
For slat walls, consistent spacing is essential. For board-and-batten, the pattern should be centered around doors, windows, and key architectural features whenever possible. For large-format panels, seams should be positioned deliberately so they look balanced and are less noticeable.
Fastening method matters too. Depending on the material and wall condition, installation may involve construction adhesive, finish fasteners, screws into studs, furring strips, or a combination of methods. Adhesive alone is not always appropriate, particularly when walls are uneven or panels are heavy. Fasteners must be placed carefully so they can be filled, concealed, or incorporated into the design.
Trim, Caulk, and Paint Are Part of the Job
The edges of a wall panel installation need as much attention as the field of the wall. Baseboards, crown molding, inside corners, outside corners, door casings, and transition points all need a finished approach. Sometimes existing trim can remain. In other cases, it needs to be removed, modified, or replaced so the new panel depth looks intentional.
Caulk helps create crisp transitions where appropriate, but it should not be used to disguise major gaps or poor cuts. Wood filler, sanding, priming, and paint preparation also determine whether a painted panel wall looks smooth under daylight. A properly finished wall should look equally strong from across the room and up close.
When a Simple Panel Project Becomes a Larger Repair
Some wall panel projects uncover conditions that require more than finish carpentry. Dry rot around windows, damaged framing, deteriorated drywall, or hidden water intrusion should be repaired before the new wall treatment is installed. Covering damaged materials may create a temporary visual improvement, but it leaves the real problem in place.
This is where working with a provider that can handle both installation and related repair work is valuable. Rather than coordinating separate trades for drywall, carpentry, painting, electrical adjustments, and finishing, property owners can keep the project moving with one accountable team.
For condos, commercial suites, and managed properties, access and building requirements can also shape the schedule. Elevator reservations, working-hour rules, common-area protection, and approval requirements may need to be arranged before materials arrive. A clear scope of work helps prevent surprises once the project is underway.
Preparing Your Home or Business for Installation
Most wall panel installations create dust, require cutting, and involve moving furniture away from the work area. Clearing the wall and creating a workable path to the room helps the crew begin efficiently. Fragile items, electronics, and wall decor should be removed in advance.
If the installation includes painting, plan for reasonable drying time before returning furniture tightly against the wall. If the wall is in a busy area, such as a lobby, hallway, or living room, ask about phasing the work to reduce disruption. The right approach depends on the size of the project and how the room needs to function during the work.
It is also helpful to confirm the final design before materials are cut. Review panel orientation, spacing, paint color, trim profile, outlet locations, and how the installation will end at adjacent walls or ceilings. These decisions are much easier to adjust before installation than after a finished wall is in place.
Get a Finished Wall That Holds Up
A well-installed panel wall should feel like part of the building, not an add-on. It should sit flat, align cleanly with surrounding trim, accommodate outlets and fixtures properly, and hold up to normal use. Whether the project is a single accent wall or paneling throughout an office or home, skilled preparation is what protects the finished look.
Fullhouse Remodeling & Handyman Services can help property owners plan and complete wall panel work alongside drywall repair, painting, trim updates, and related improvements. The best next step is to choose a design that suits the room, address the condition of the wall honestly, and have the installation completed with the same care you expect from the finished space.
